Calendar & online booking
Take appointment requests from your website
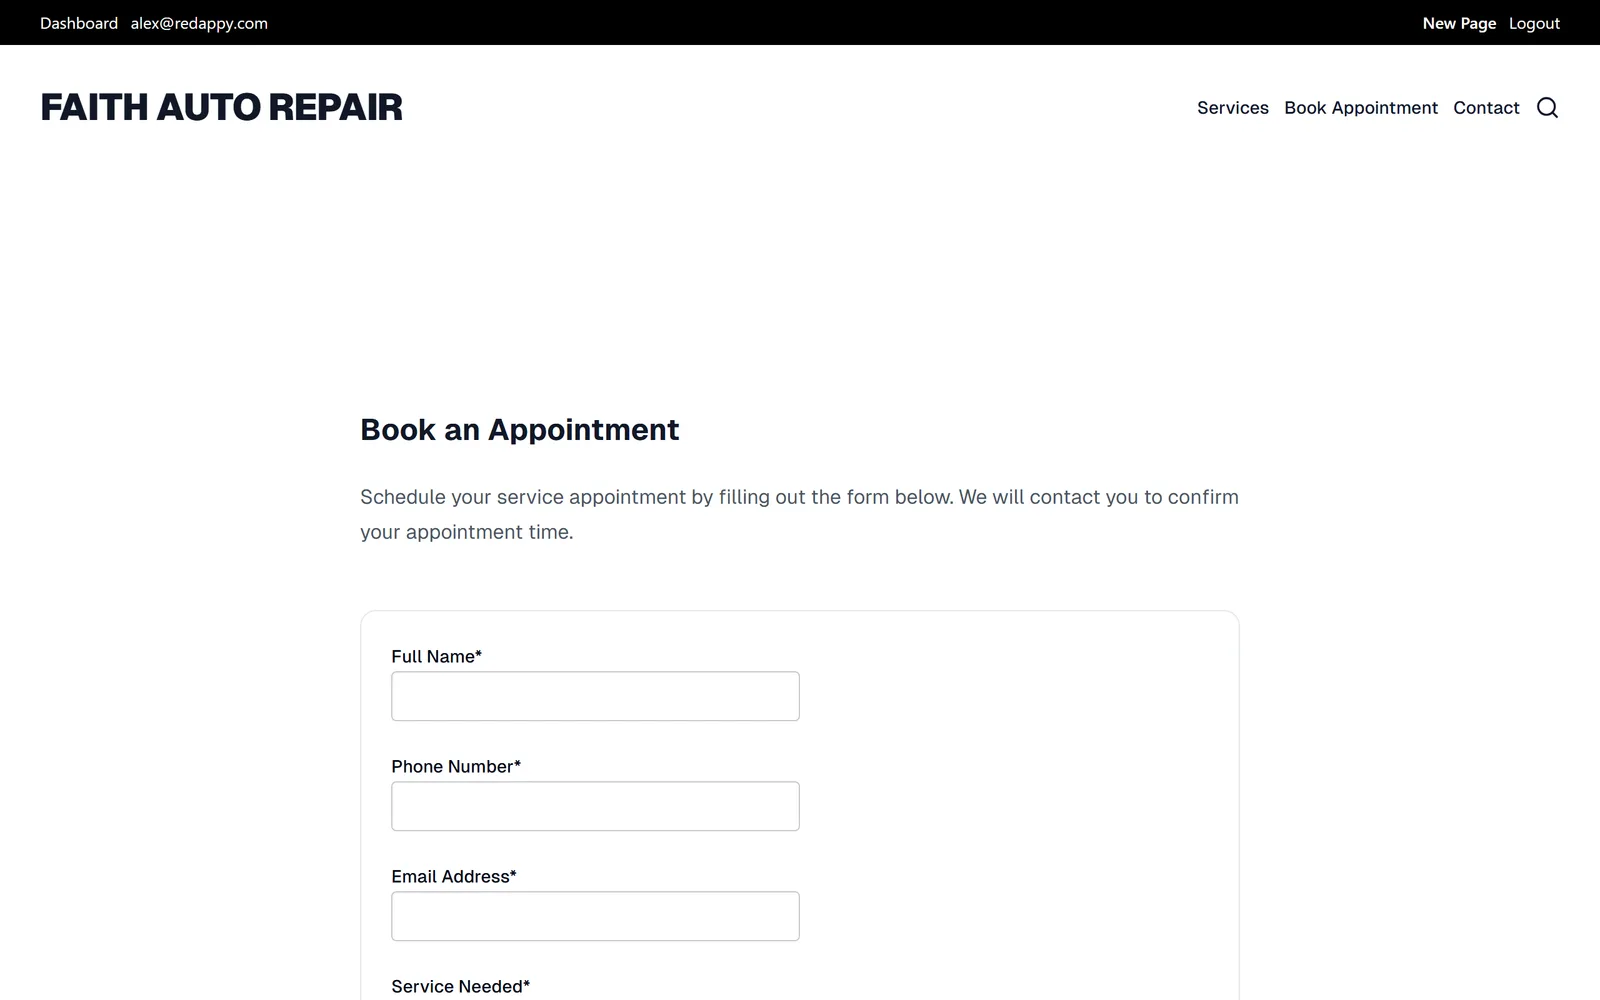
Your RedAppy shop website has a Book an Appointment page. Customers pick a service, vehicle, date, and time; the request is saved in your admin with an email.
Every RedAppy shop website comes with a Book an Appointment page. Customers send a request with a preferred date and time. You see it in the admin, confirm by phone or text, and add it to the calendar. The form does not book a slot by itself, so nothing gets double booked.
What the customer does
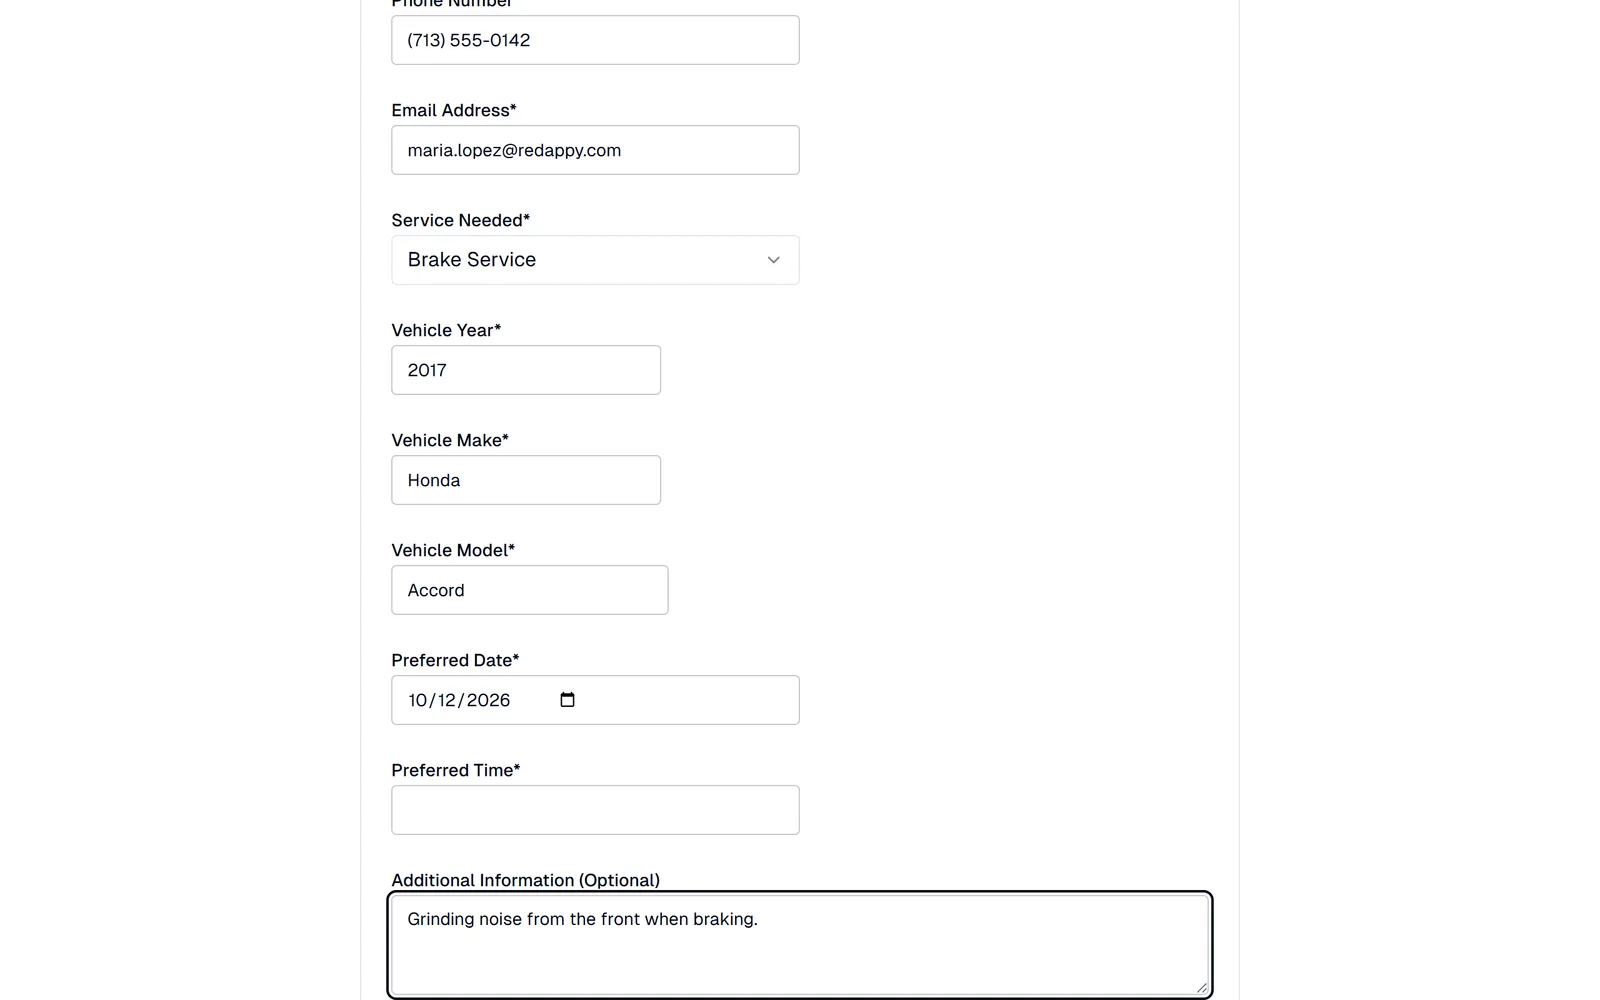
On your website, the customer opens Book Appointment from the menu. The form asks for name, phone, email, the Service Needed (Oil Change, Brake Service, State Inspection, AC Service, Tire Service, Engine Diagnostics, Transmission, General Repair, or Other), the vehicle year, make, and model, a Preferred Date and Preferred Time, and any extra notes.
They click Request Appointment and see a thank-you message saying you will call to confirm. They also get a confirmation email right away.
What you do
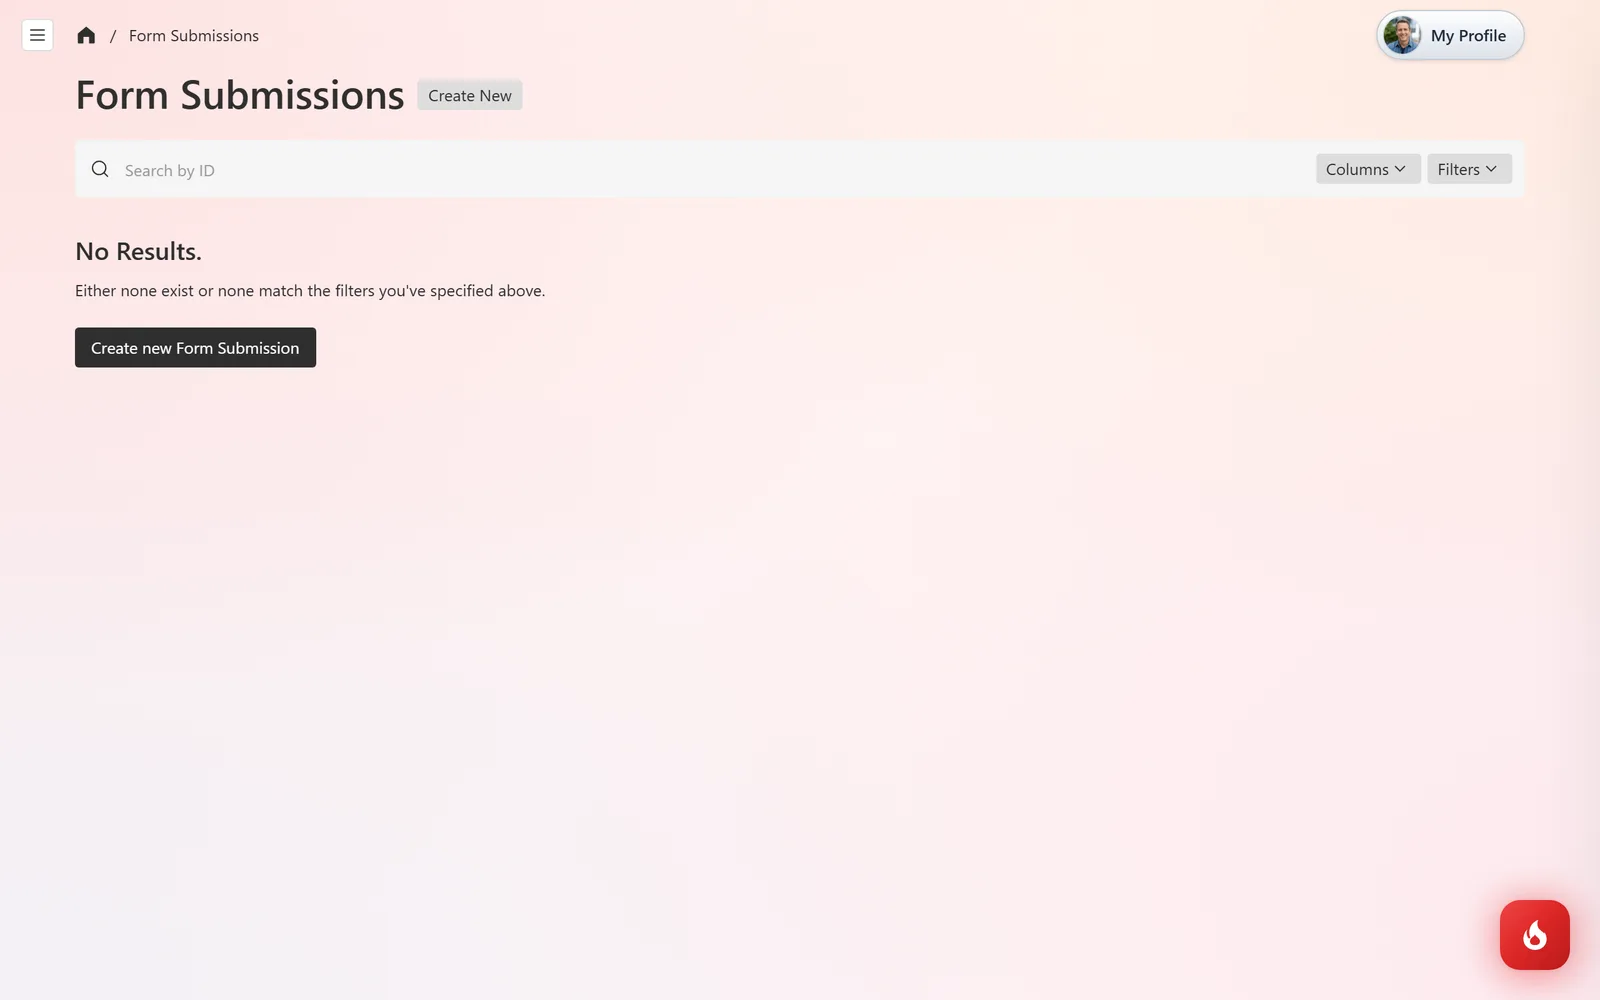
Open Website Content → Form Submissions. Each request is listed with everything the customer typed. Call or text them to lock in the time, then add the car to the team calendar or create an estimate for the work.
Change the form or the emails
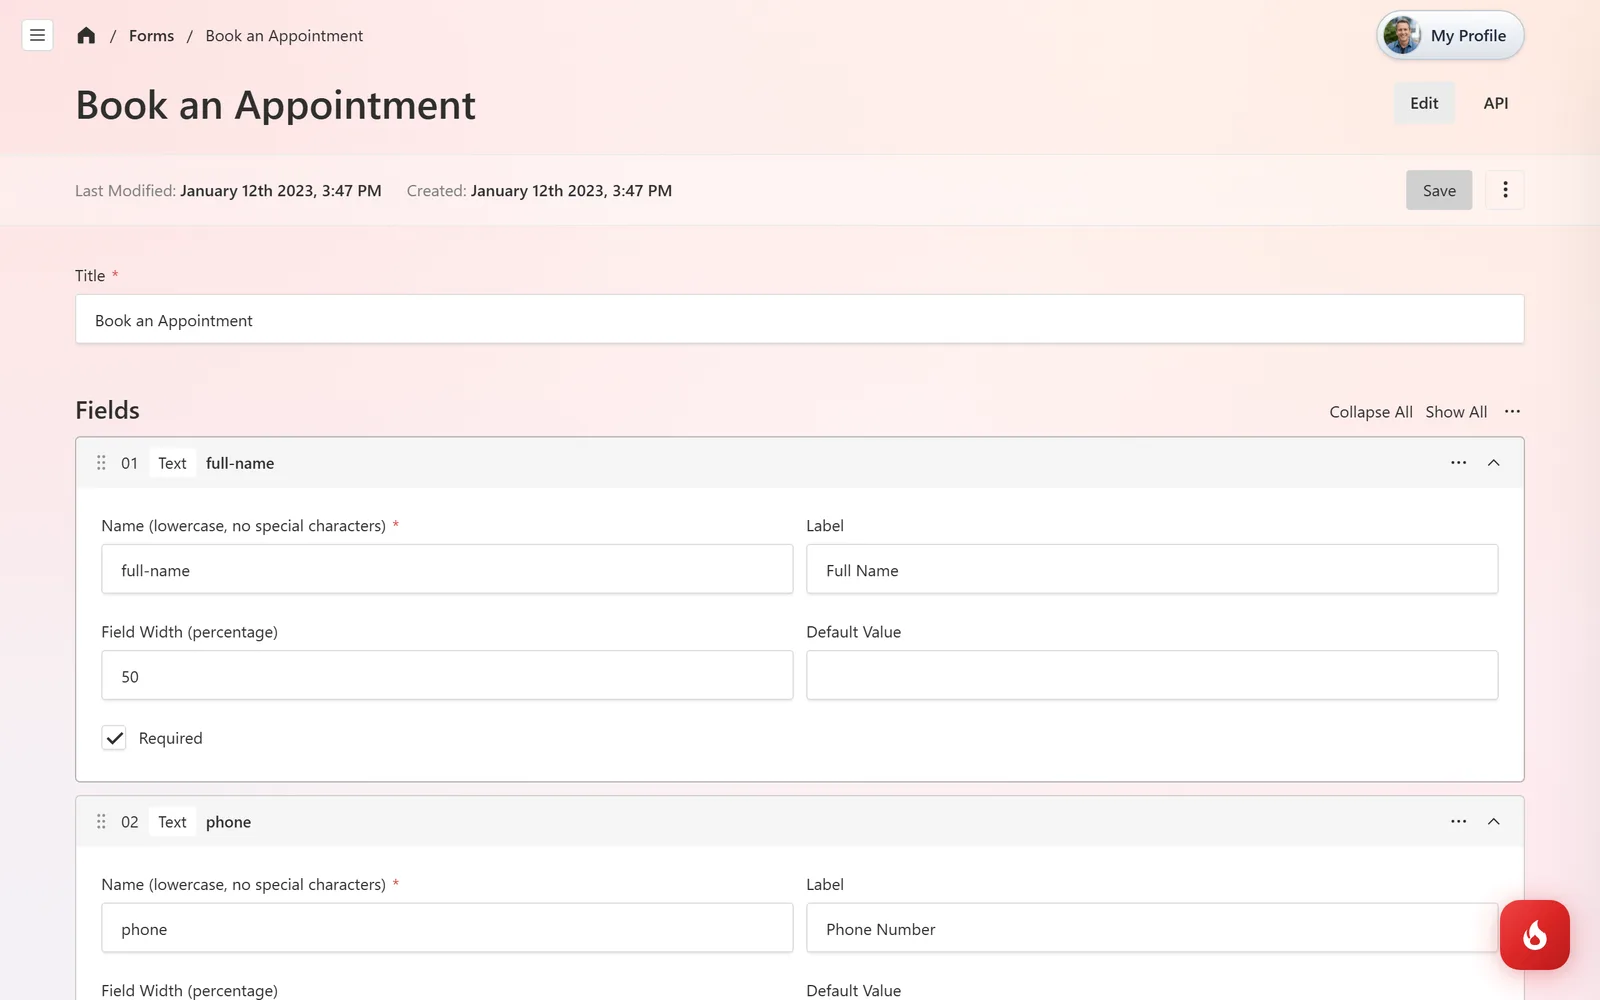
Open Website Content → Forms → Book an Appointment. The Fields list is the form itself: edit the service options, add or remove a field, or change the Confirmation Message the customer sees after submitting.
Under Emails, the first email goes to the customer. Add a second one with your shop address in Email To and
{{*:table}}in the message to get every request in your inbox as a neat table. Click Save.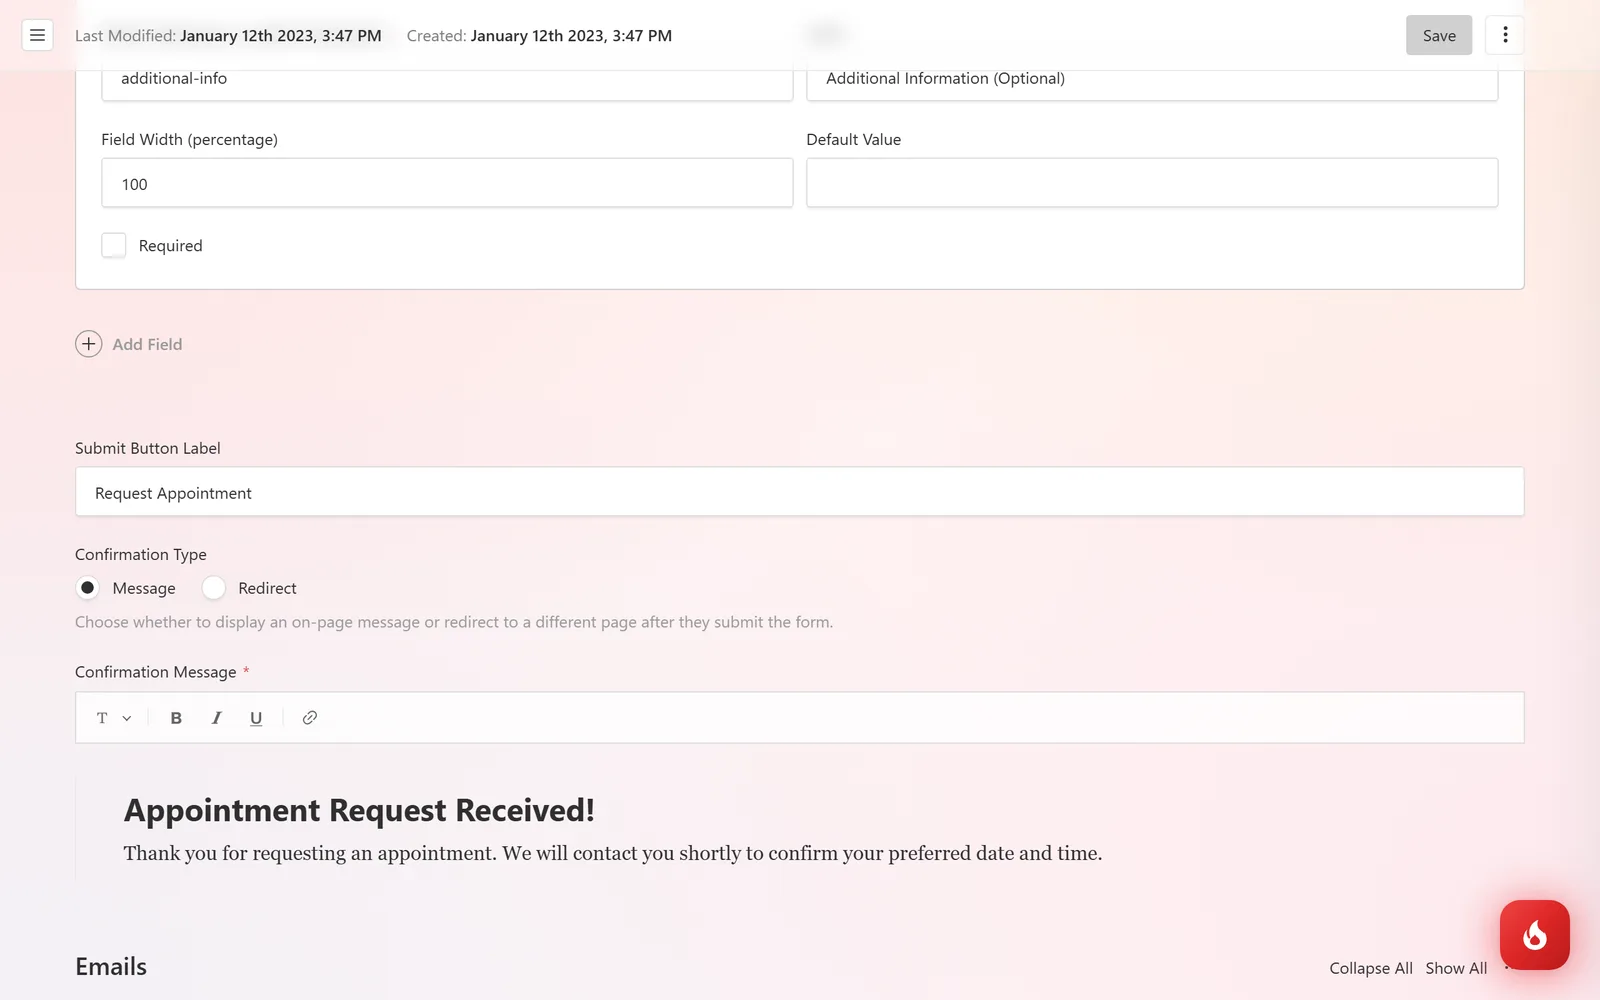
Frequently asked questions
No. It collects a preferred date and time and you confirm. That avoids double bookings and lets you move the customer if a bay is full.
Email notifications are built into the form. Some carriers offer an email-to-SMS address; if yours does, put it in Email To.
Yes. Any page on your website can include a Form block, and you can pick the Book an Appointment form in it.