Inspections
Do a multi-point inspection
Run a digital multi-point inspection in RedAppy: mark each item Good, Fair, or Needs Attention, add notes and photos, and text the customer a color-coded report.
A multi-point inspection (MPI) is the walk-around your technician does on every car: tires, brakes, under the hood, lights, fluids, and so on. In RedAppy each item gets a Good, Fair, or Needs Attention rating, and the customer receives a color-coded report they can read on their phone. The customer sees the problem instead of taking your word for it.
Fill in the inspection
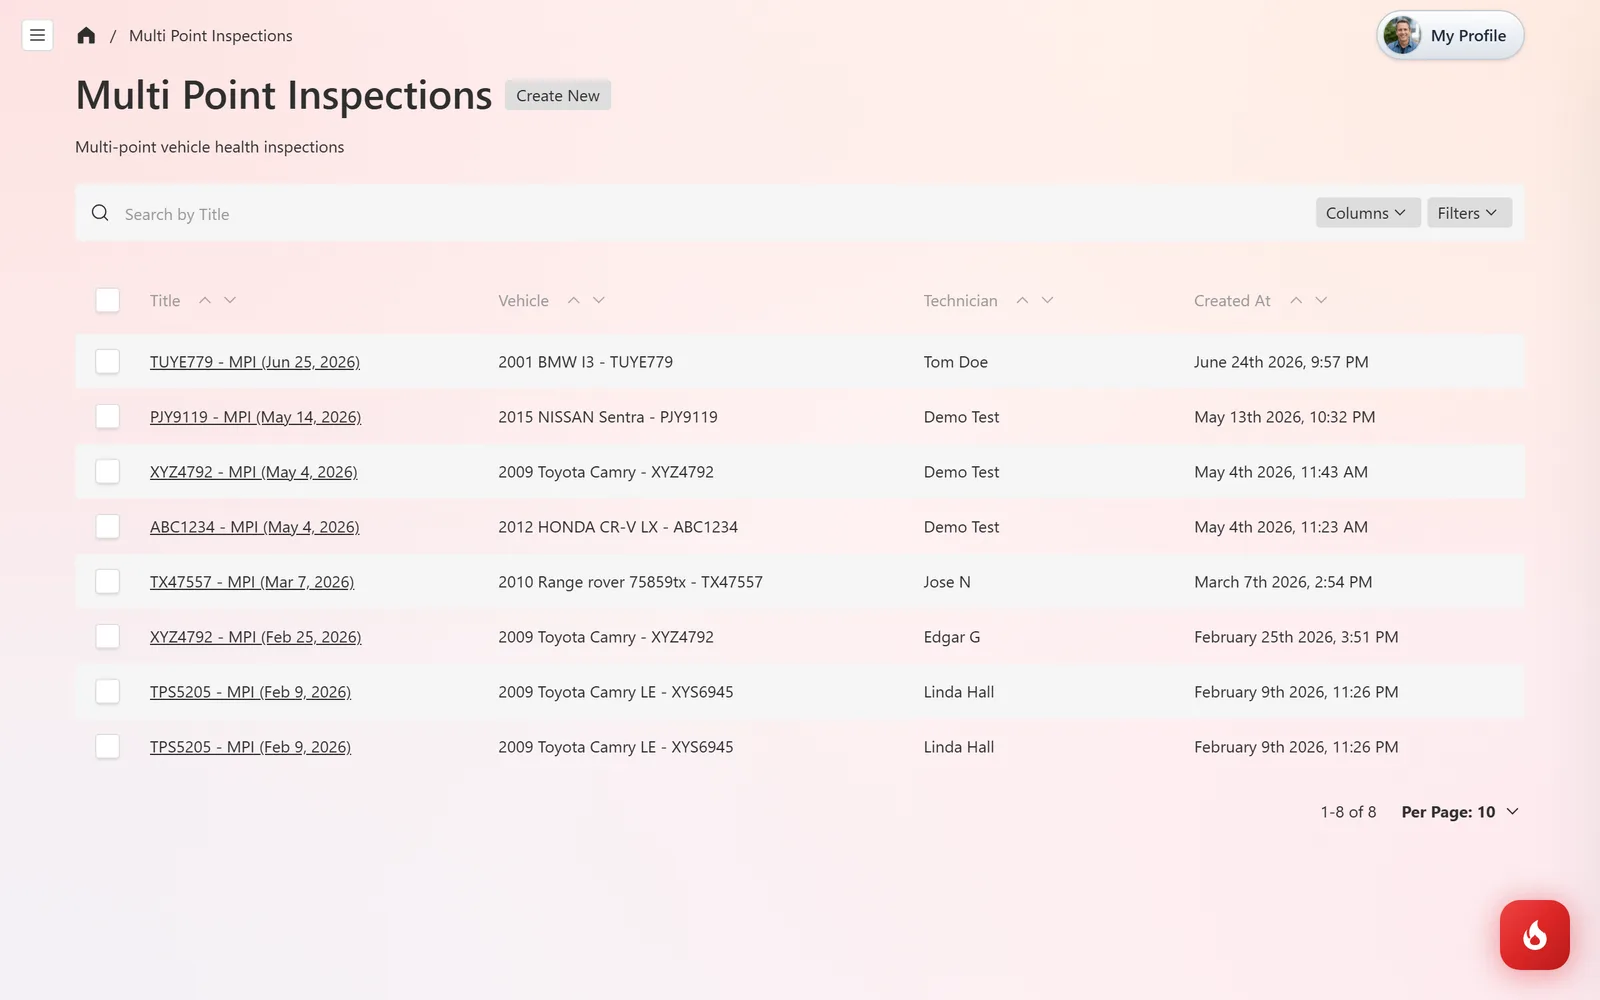
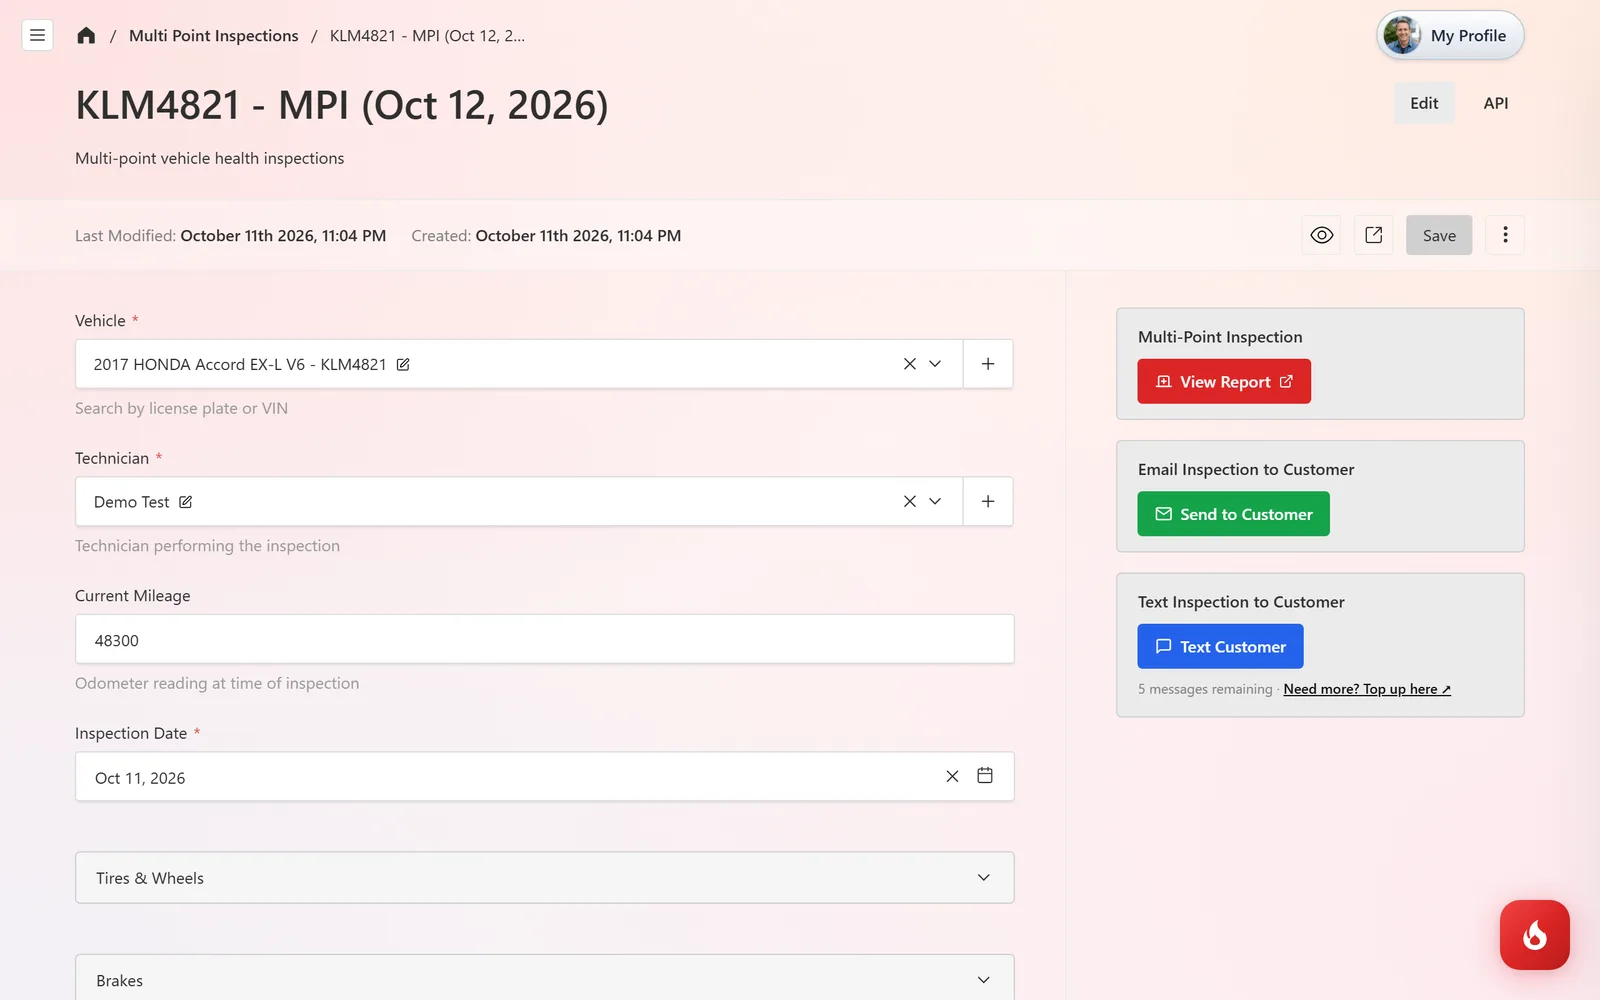
Open Service Work → Multi Point Inspections and click Create New. Each inspection in the list is titled with the plate and date.
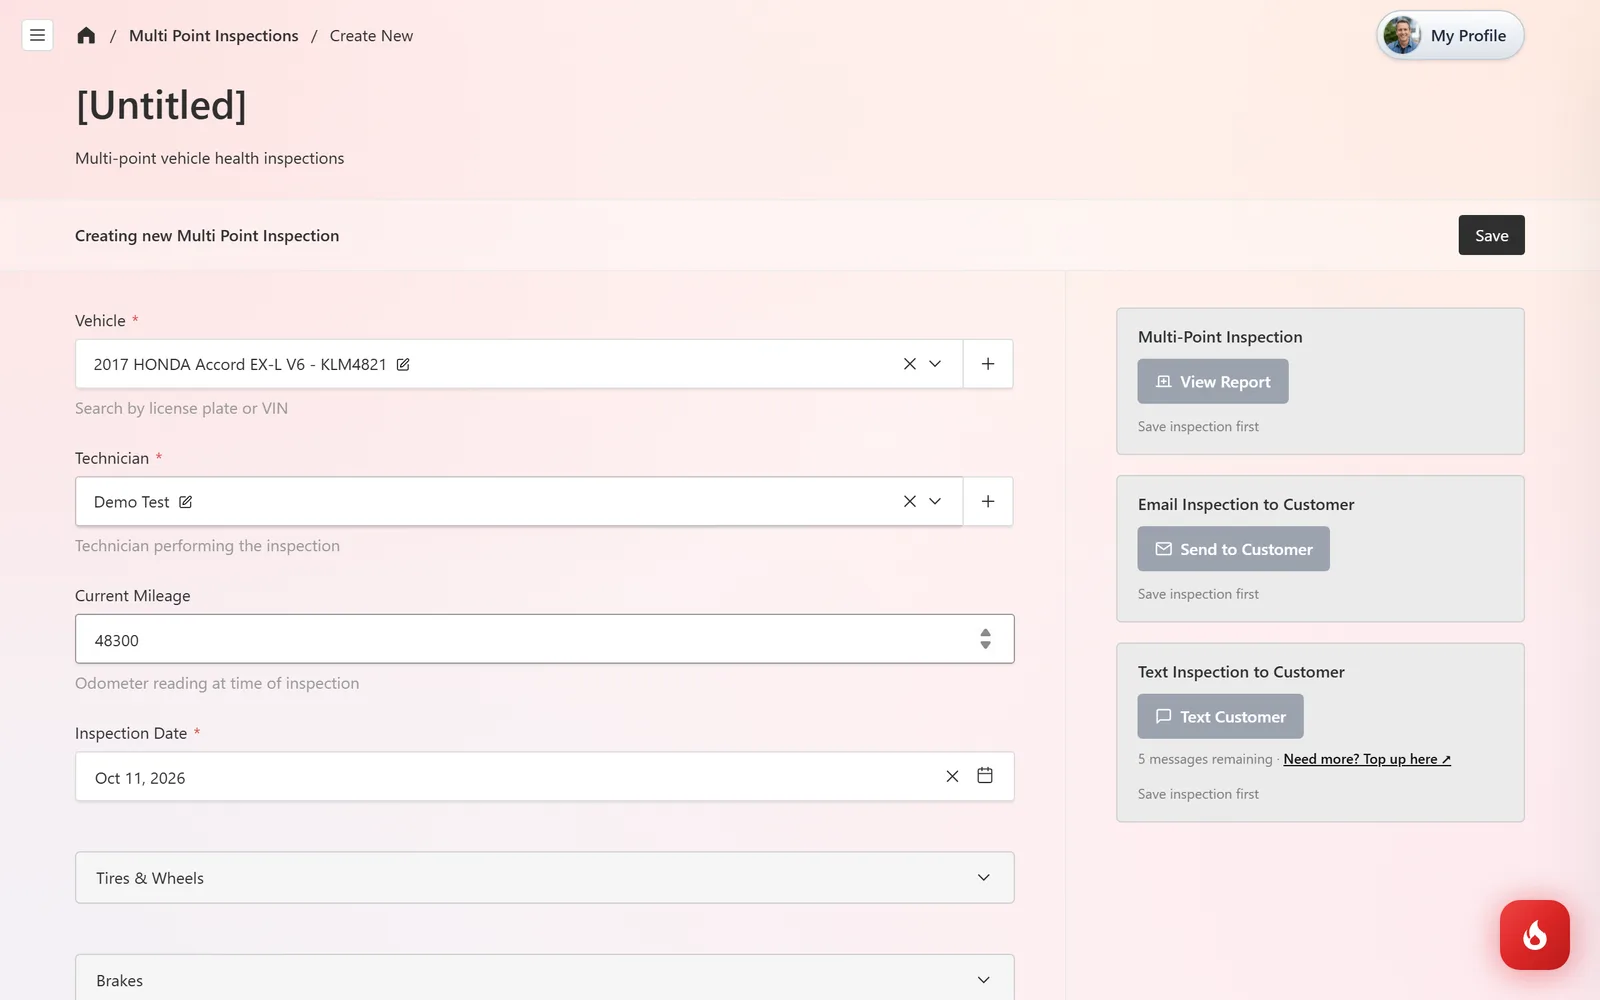
Pick the Vehicle by typing the plate or VIN, choose the Technician, and enter the Current Mileage. The Inspection Date is today. Below are ten sections: Tires & Wheels, Brakes, Engine & Under Hood, Suspension & Steering, Lights & Electrical, Exterior & Body, Exhaust System, Fluid Leaks Check, Interior & Safety, and General / Other Photos.
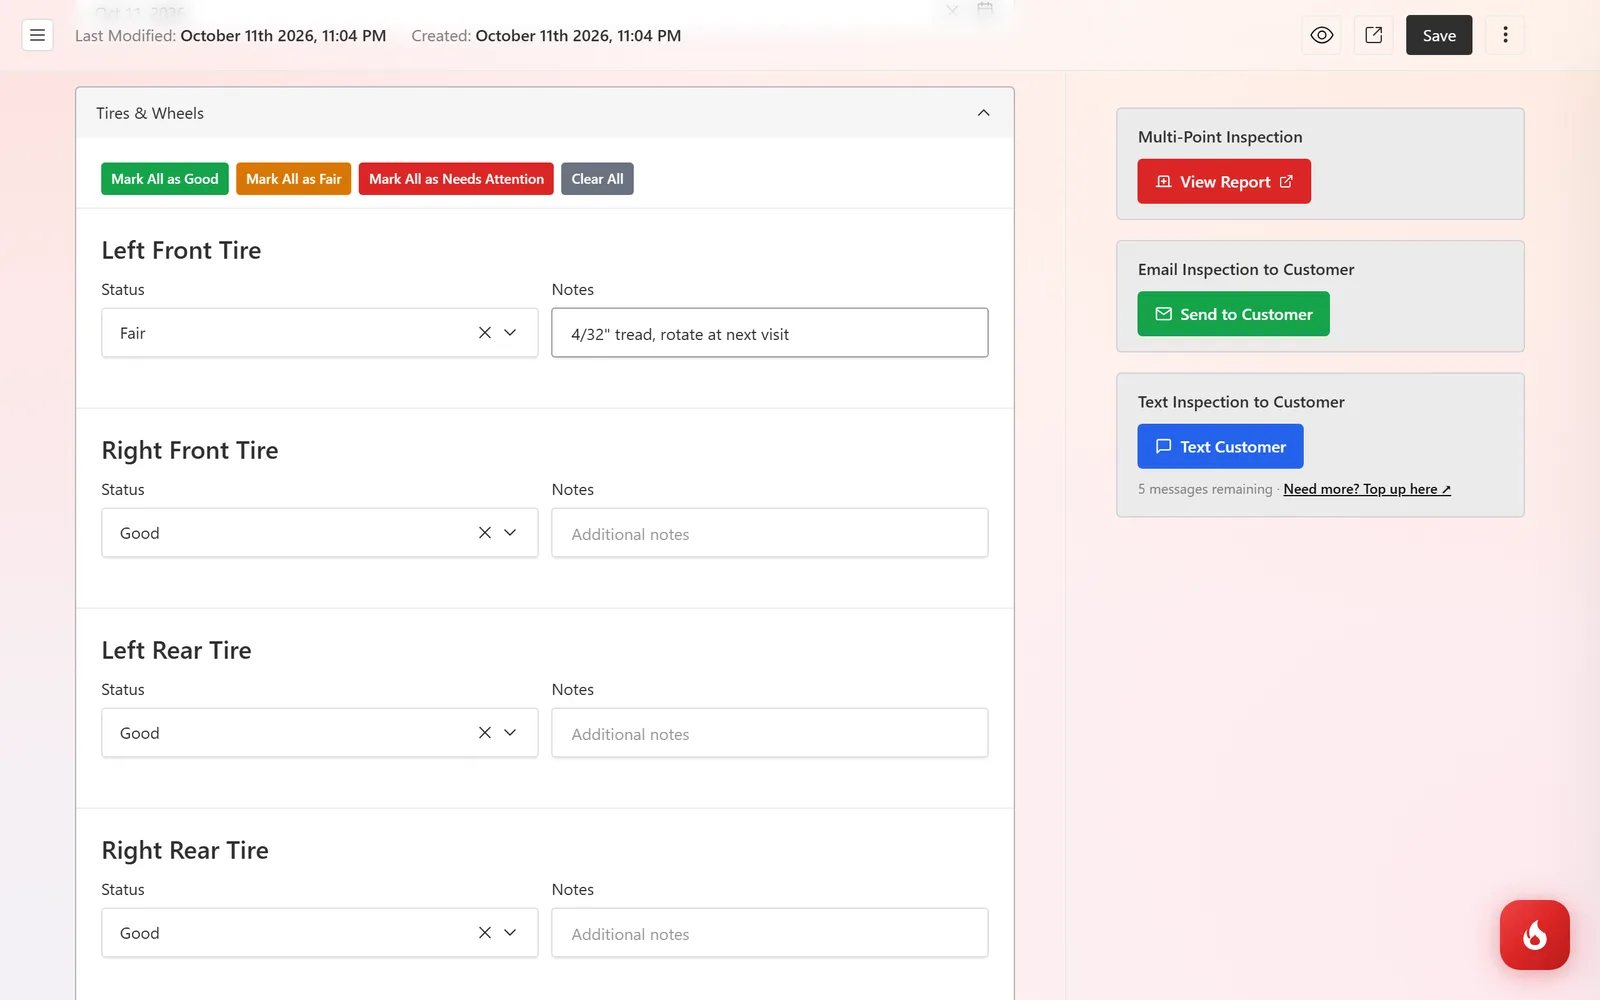
Open a section. Click Mark All as Good first, then change only the items that are not. Each item has a Status (Good, Fair, or Needs Attention) and a Notes box for measurements like tread depth. Add Photo Group at the bottom of a section attaches photos with a caption.
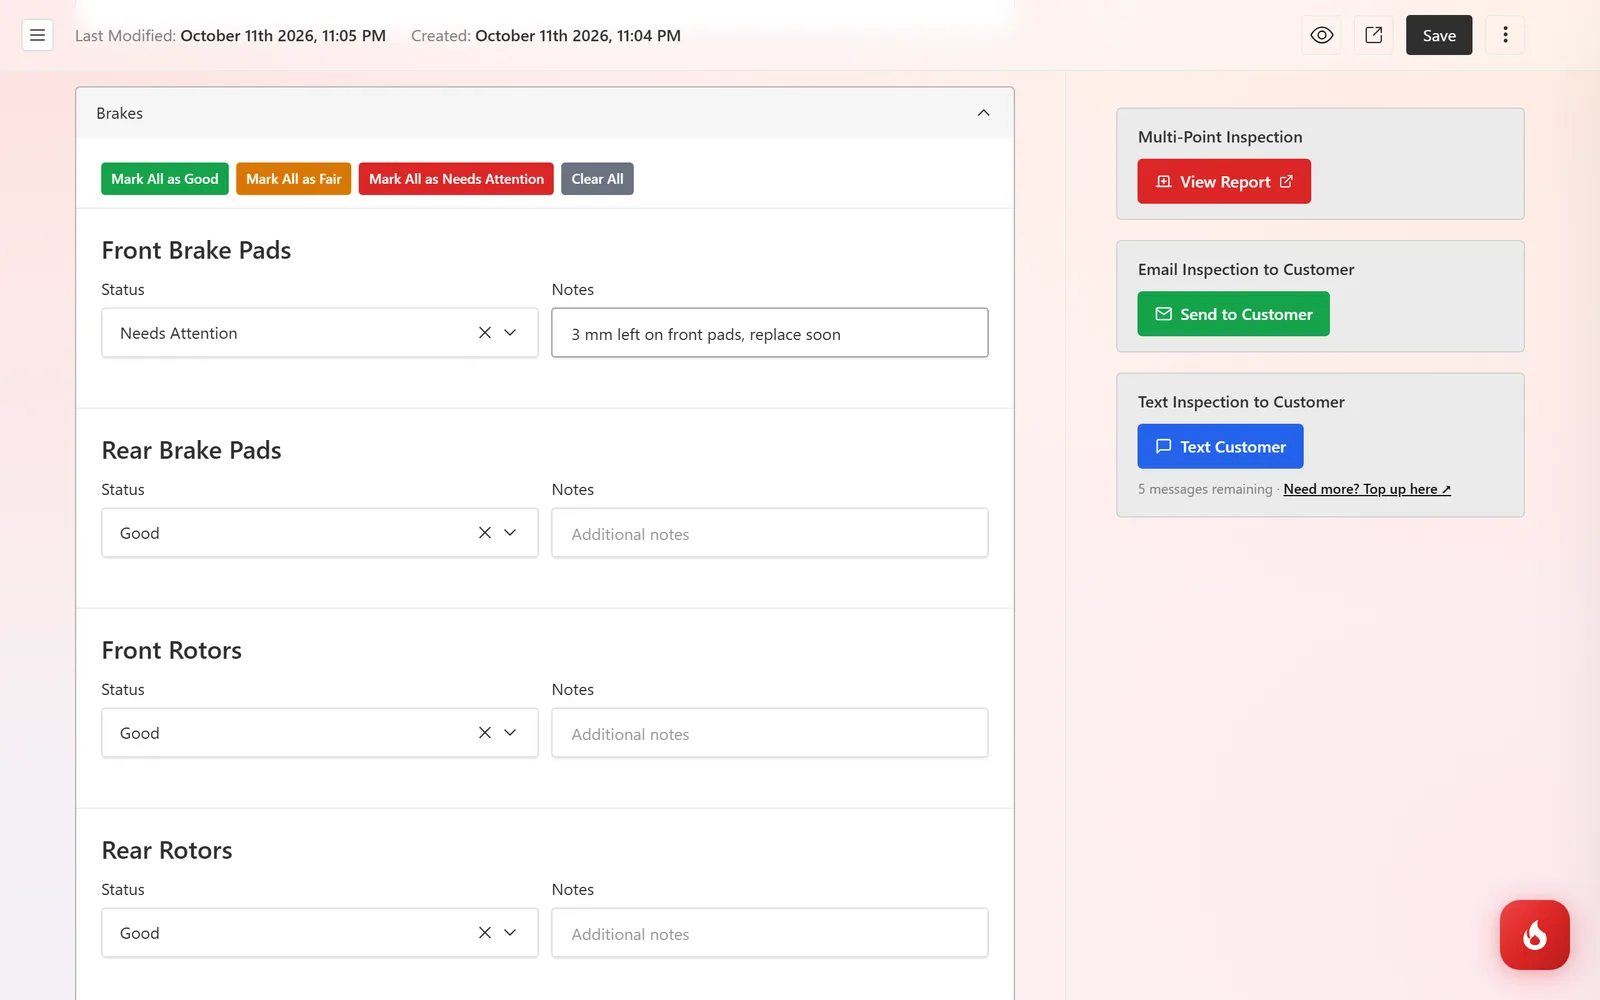
Work through the rest the same way. Anything set to Needs Attention is what the customer will be asked to approve, so add a short note that says why.
Write Overall Notes & Recommendations at the bottom and click Save. The right column now shows View Report, Send to Customer (email), and Text Customer (SMS).
What the customer sees
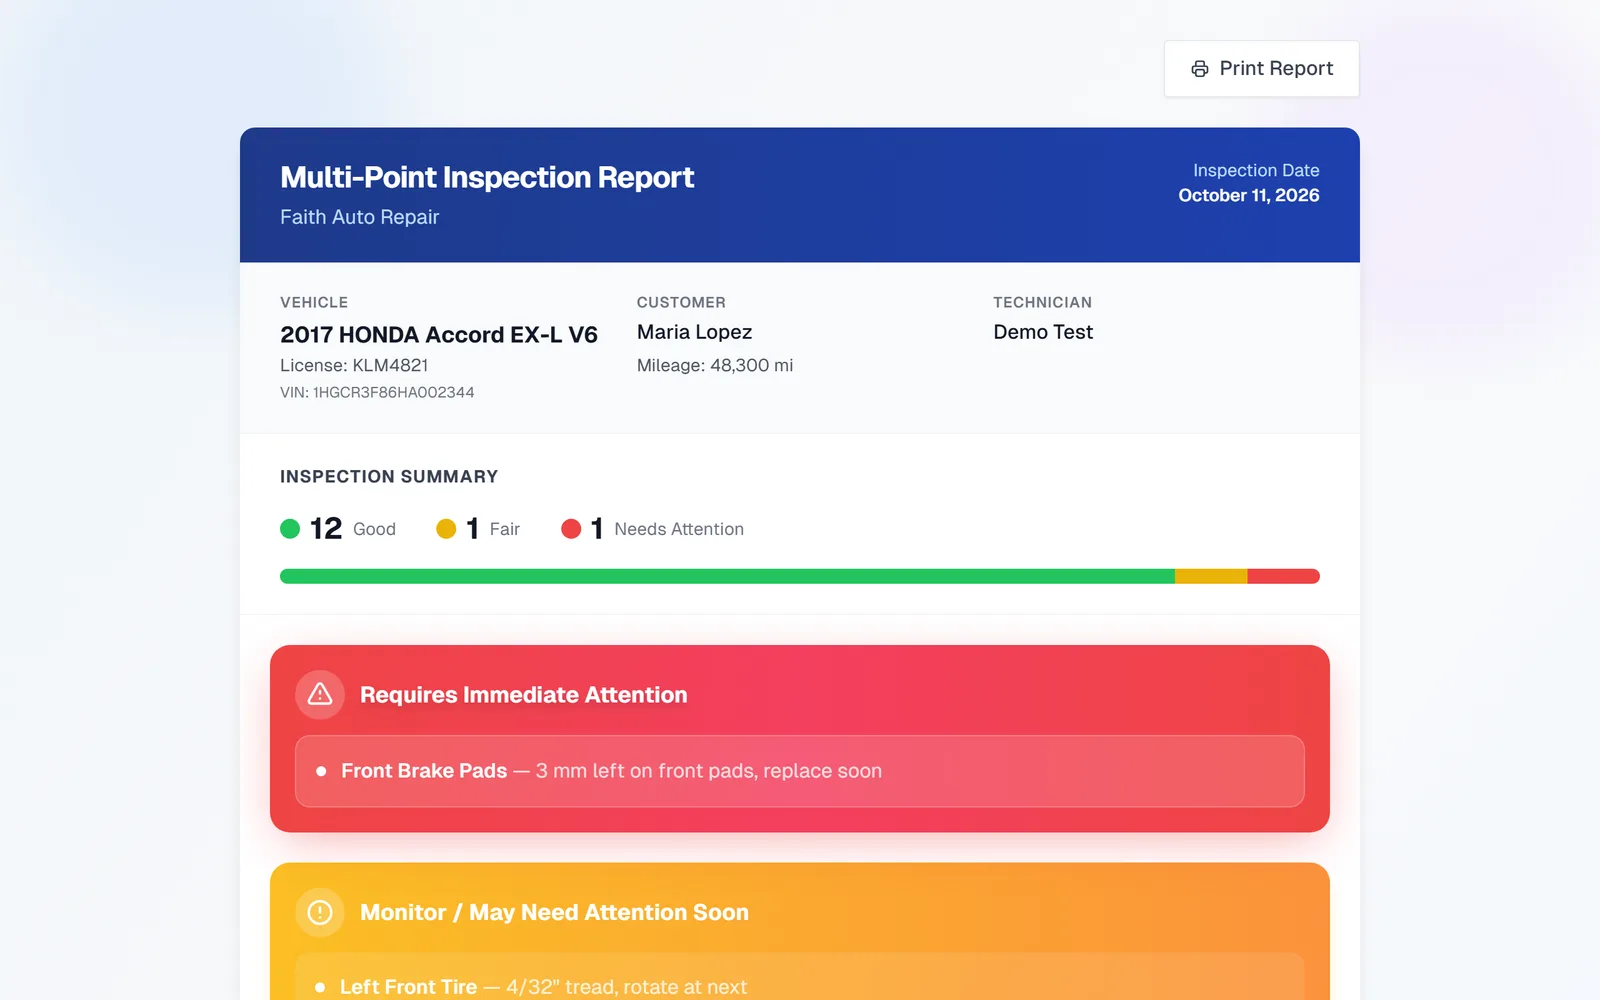
The report opens from the link in their text or email. At the top are the vehicle, customer, technician, and mileage, then a summary bar with the count of Good, Fair, and Needs Attention items, and a red Requires Immediate Attention box listing exactly what needs work.
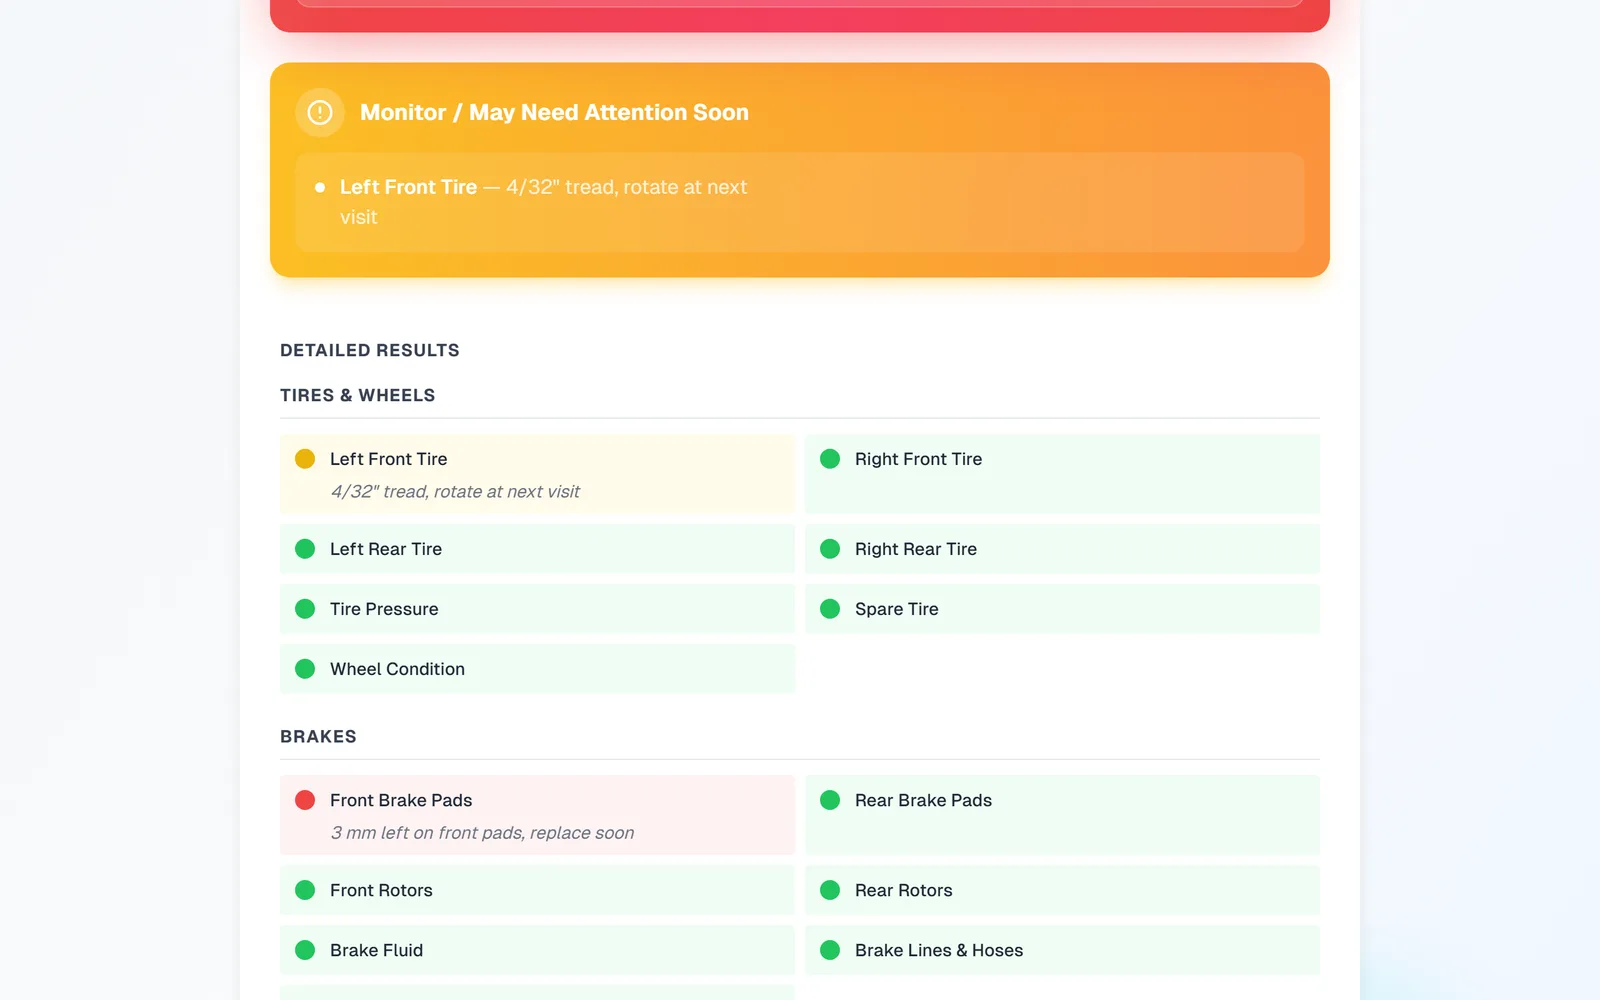
Below that, Detailed Results shows every item in every section, color coded green, yellow, or red, with your notes and photos. A Print Report button is at the top.
Frequently asked questions
Yes. The form works on a phone, and photos can be taken straight from the camera into a photo group.
Yes. Items left blank are not shown on the report, so only rate what you checked.
Create an estimate for the same customer and vehicle and add a job per item. Send the report and the estimate together so the customer sees the reason next to the price.