Estimates
Create an estimate
Step-by-step guide to creating an auto repair estimate in RedAppy: pick the customer and vehicle, add a job with labor and parts, check the total, and save.
An estimate tells the customer what the repair will cost before any work starts. Once they approve it, it becomes the invoice. This guide creates one from scratch, which takes about a minute.
Before you start
- The customer and their vehicle should already be in RedAppy. You can also add both from inside the estimate with the + button next to each field.
- Your labor rate, shop fees, and sales tax come from Shop Setup → Shop Settings, so set those once first.
Create the estimate
In the shop admin, open Estimates and click Create New. If you would rather start from the customer, click Find Customer and search by name, phone, email, license plate, or VIN.
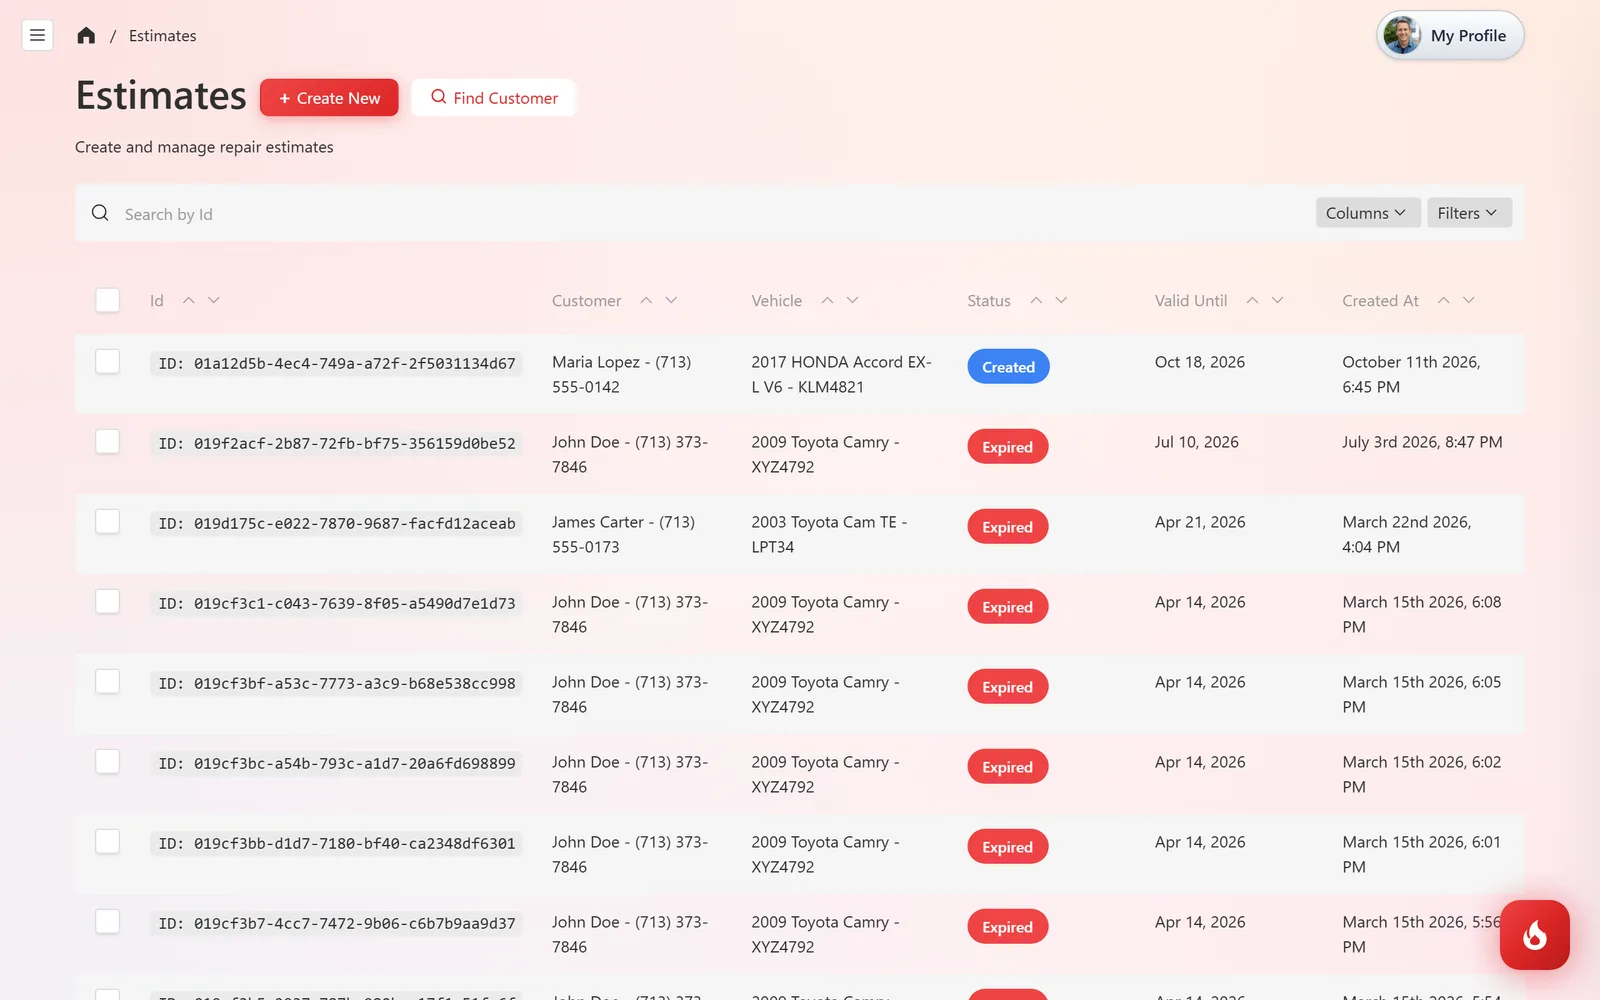
Under Customer, pick the customer. The Vehicle field appears with their vehicles; choose one, or click + to add a new vehicle.
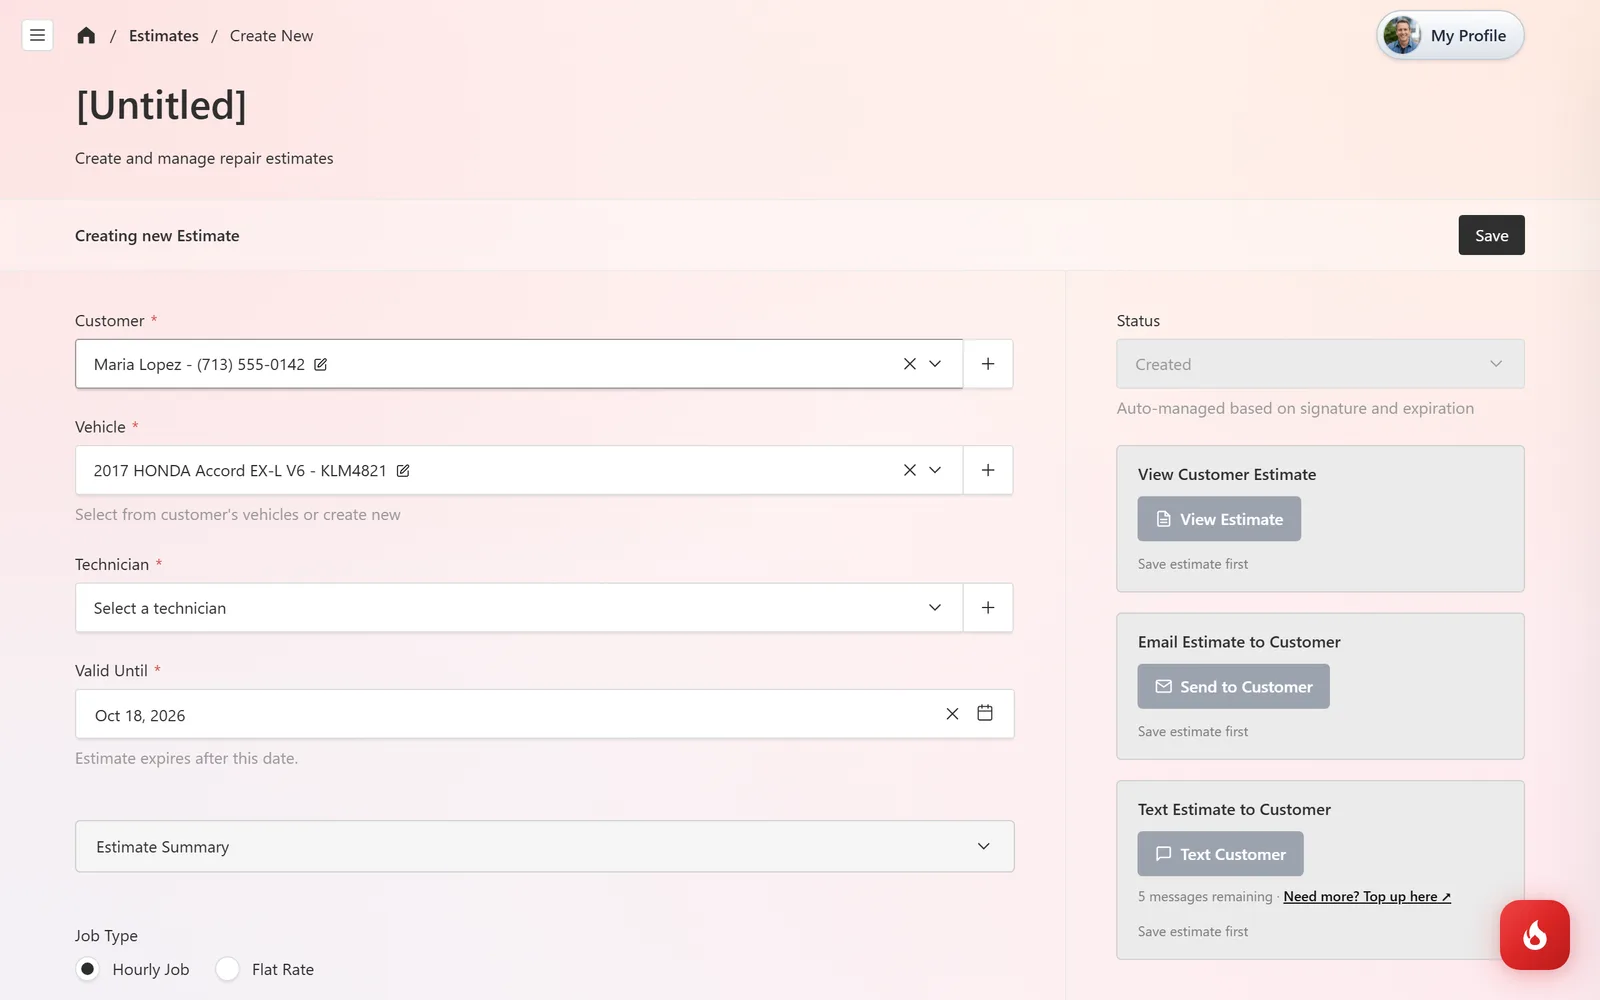
Choose the Technician and check Valid Until. It defaults to one week out, and the estimate expires after that date.
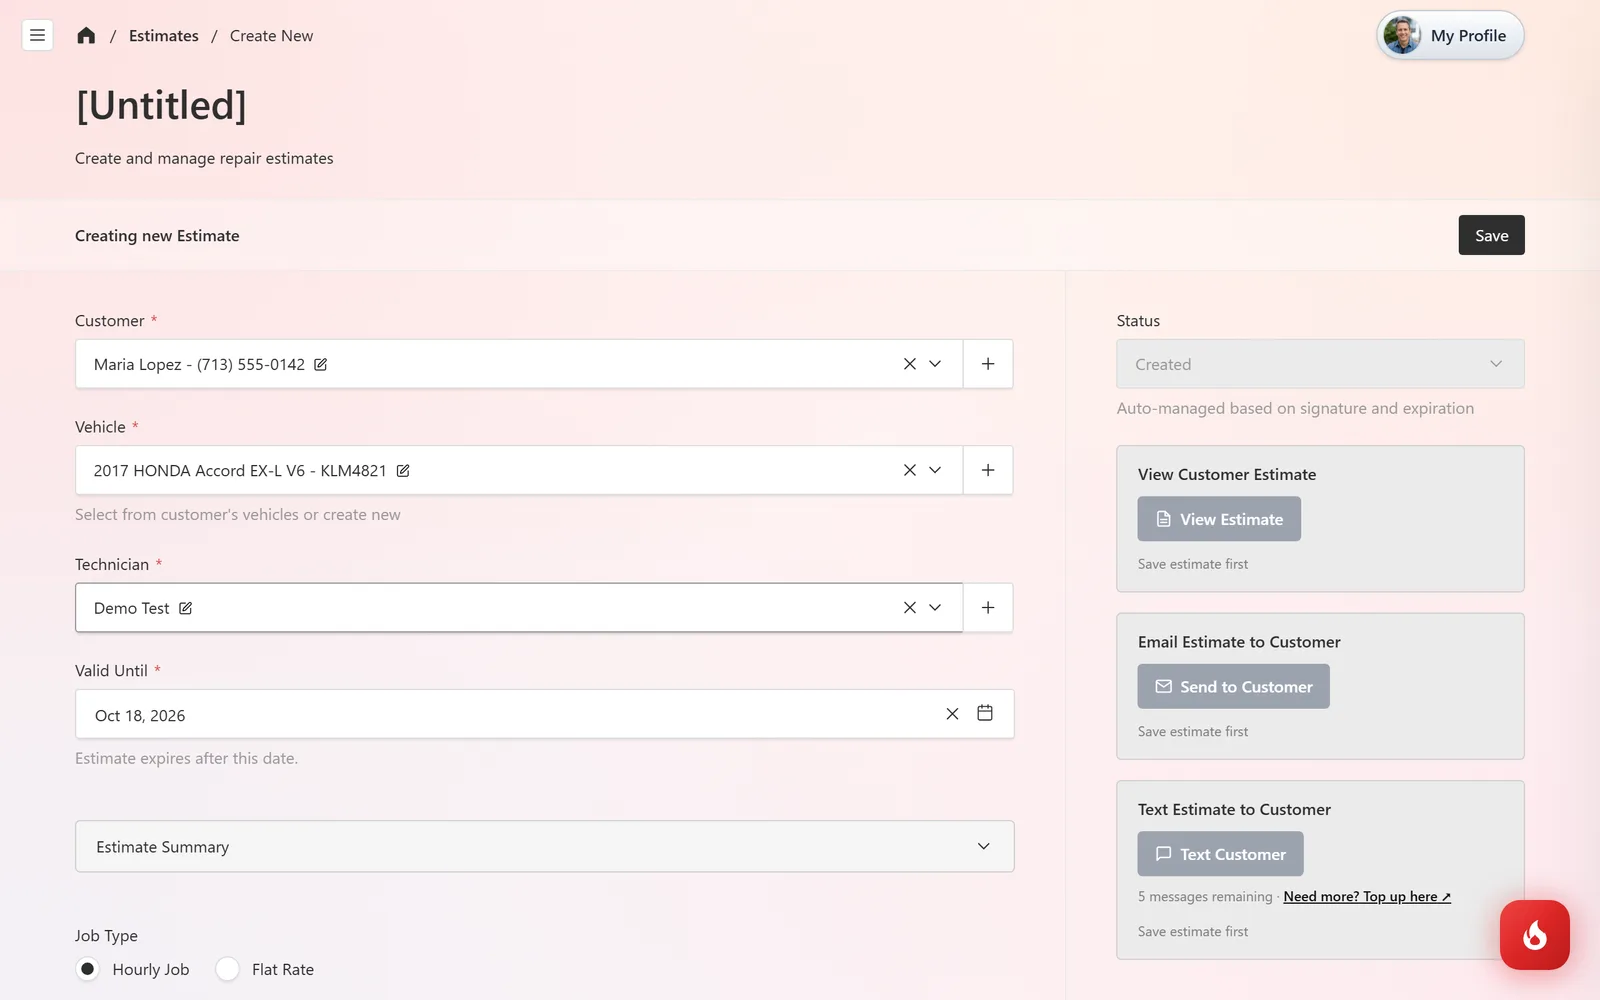
Under Job Type, keep Hourly Job and click Add Hourly Job. Pick the Job Name from your job list and enter the Labor Hours. The Labor Rate fills in from your shop settings.
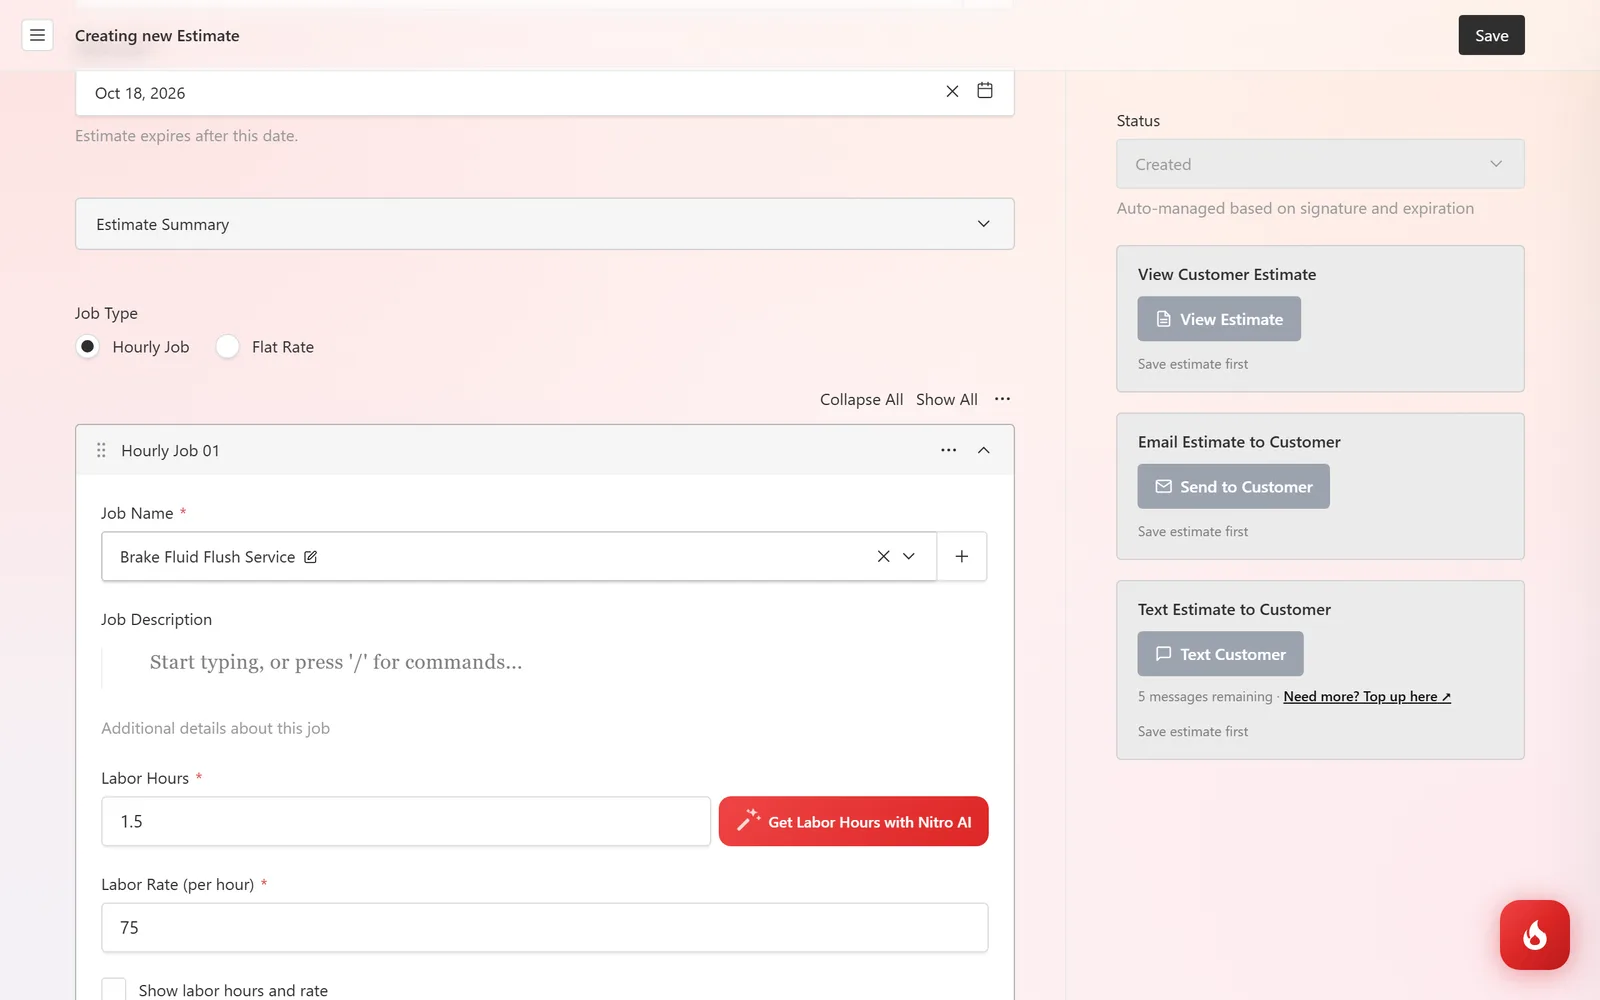
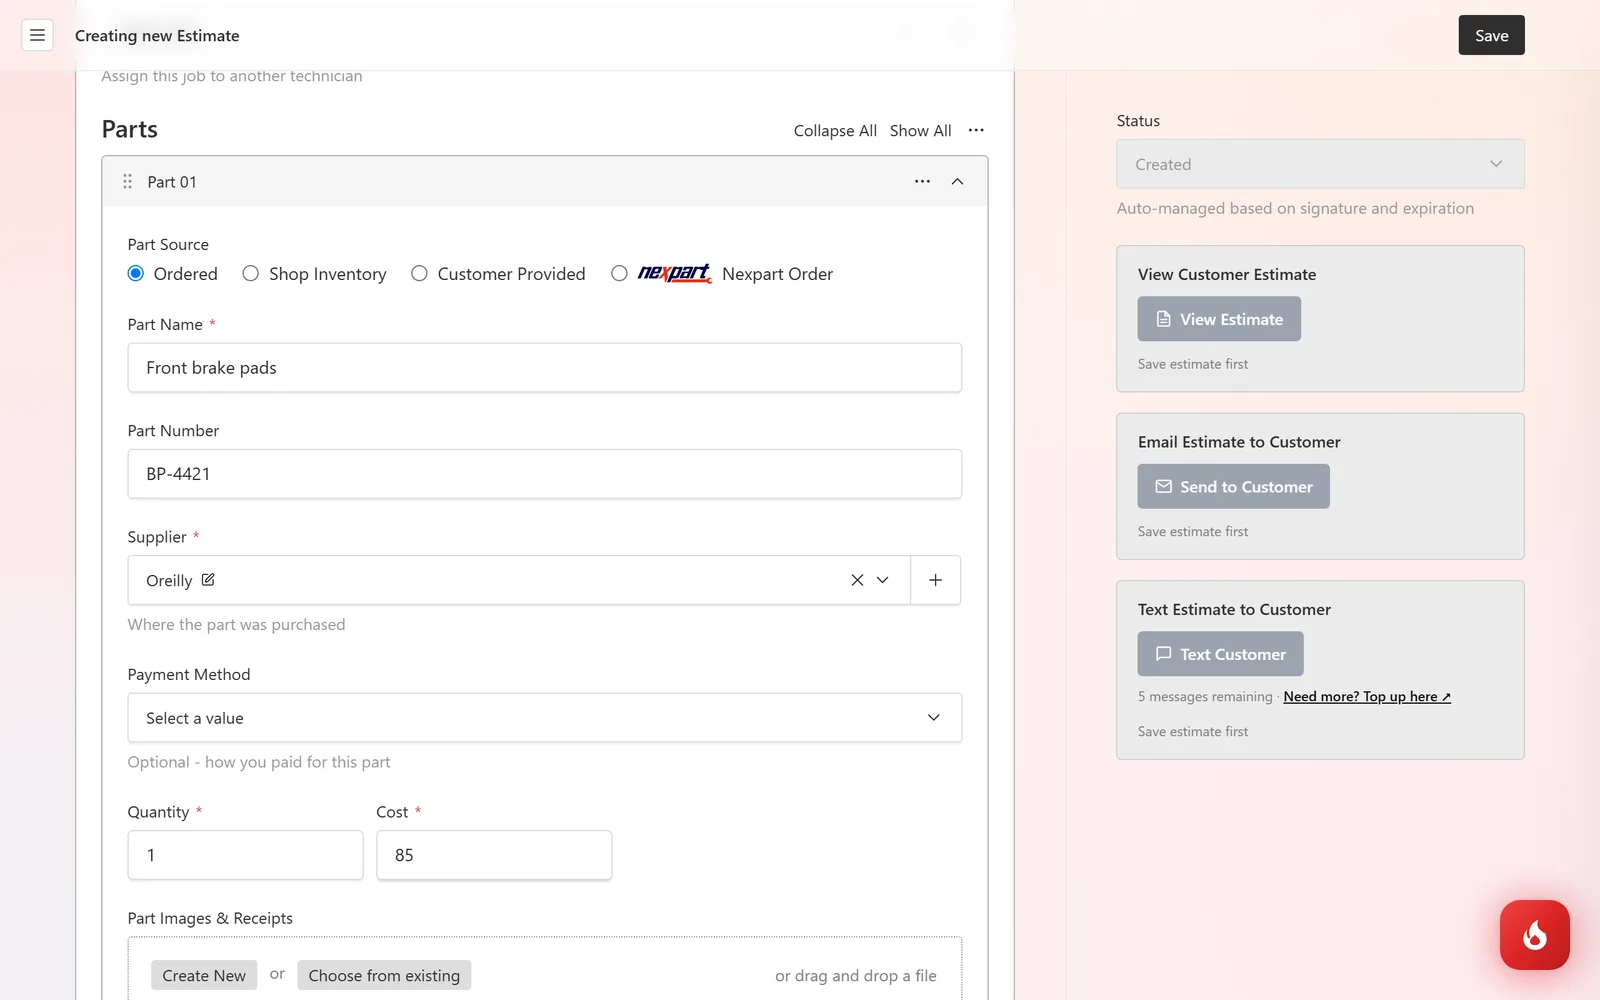
Click Add Part. Choose where the part comes from (Ordered, Shop Inventory, Customer Provided, or Nexpart Order), then enter the part name, part number, supplier, quantity, and cost. Your markup is applied automatically.
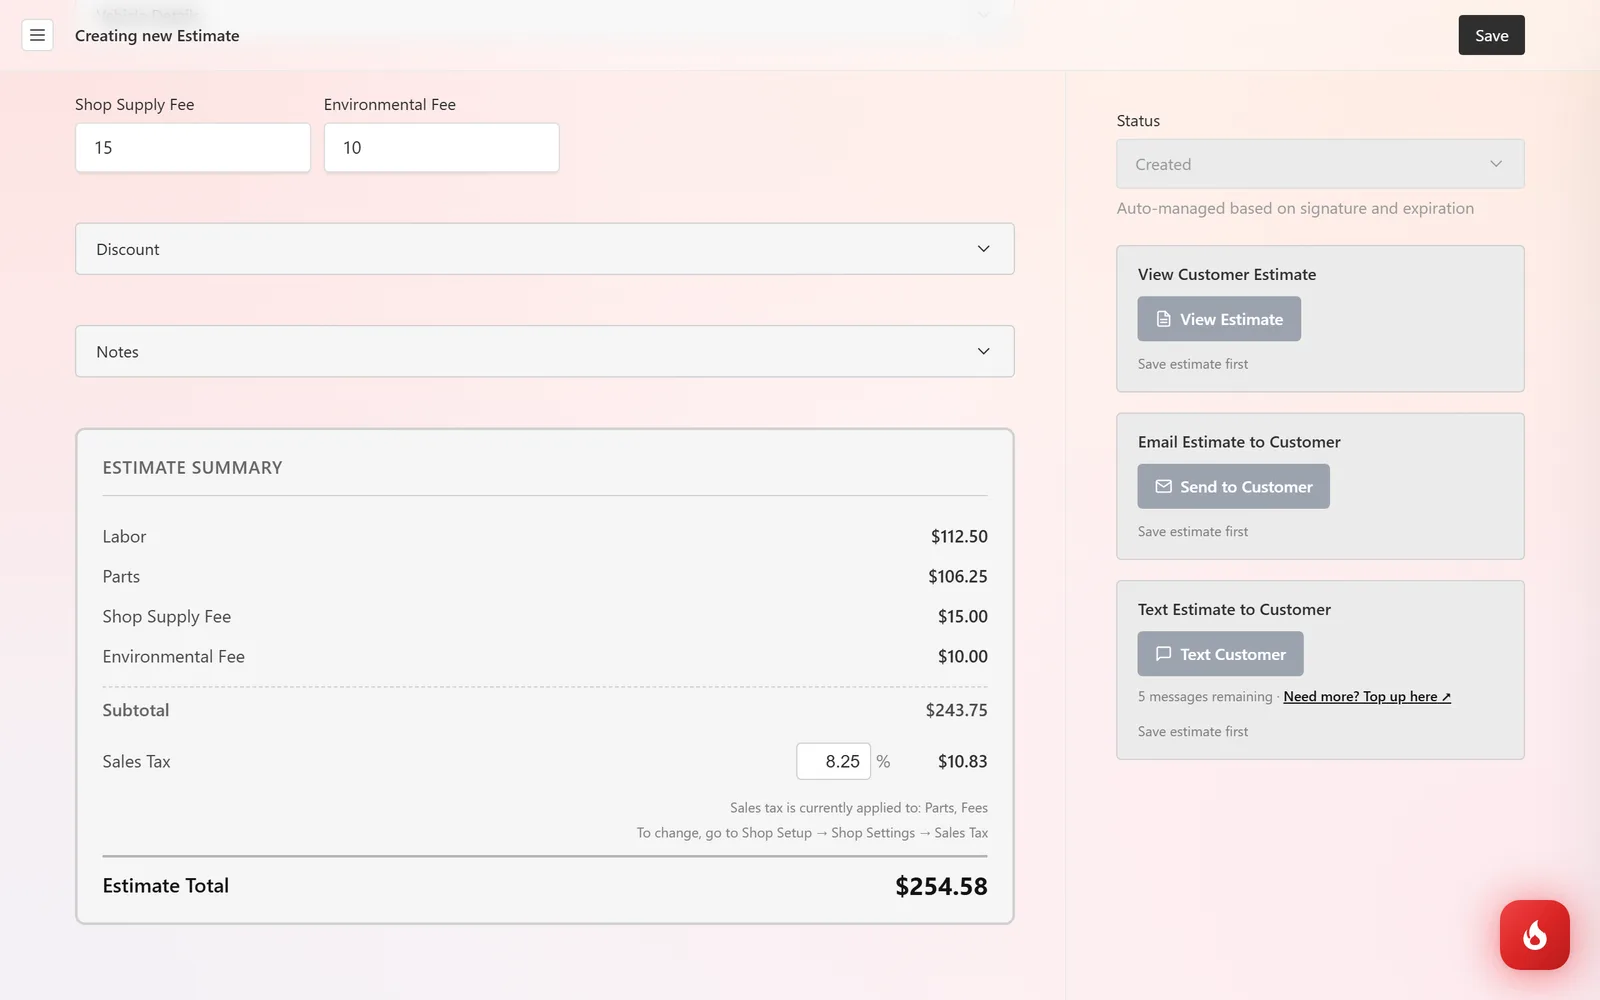
Scroll down to the Estimate Summary. Labor, parts, shop supply fee, environmental fee, sales tax, and the total update as you go. Add a Discount or Notes here if needed.
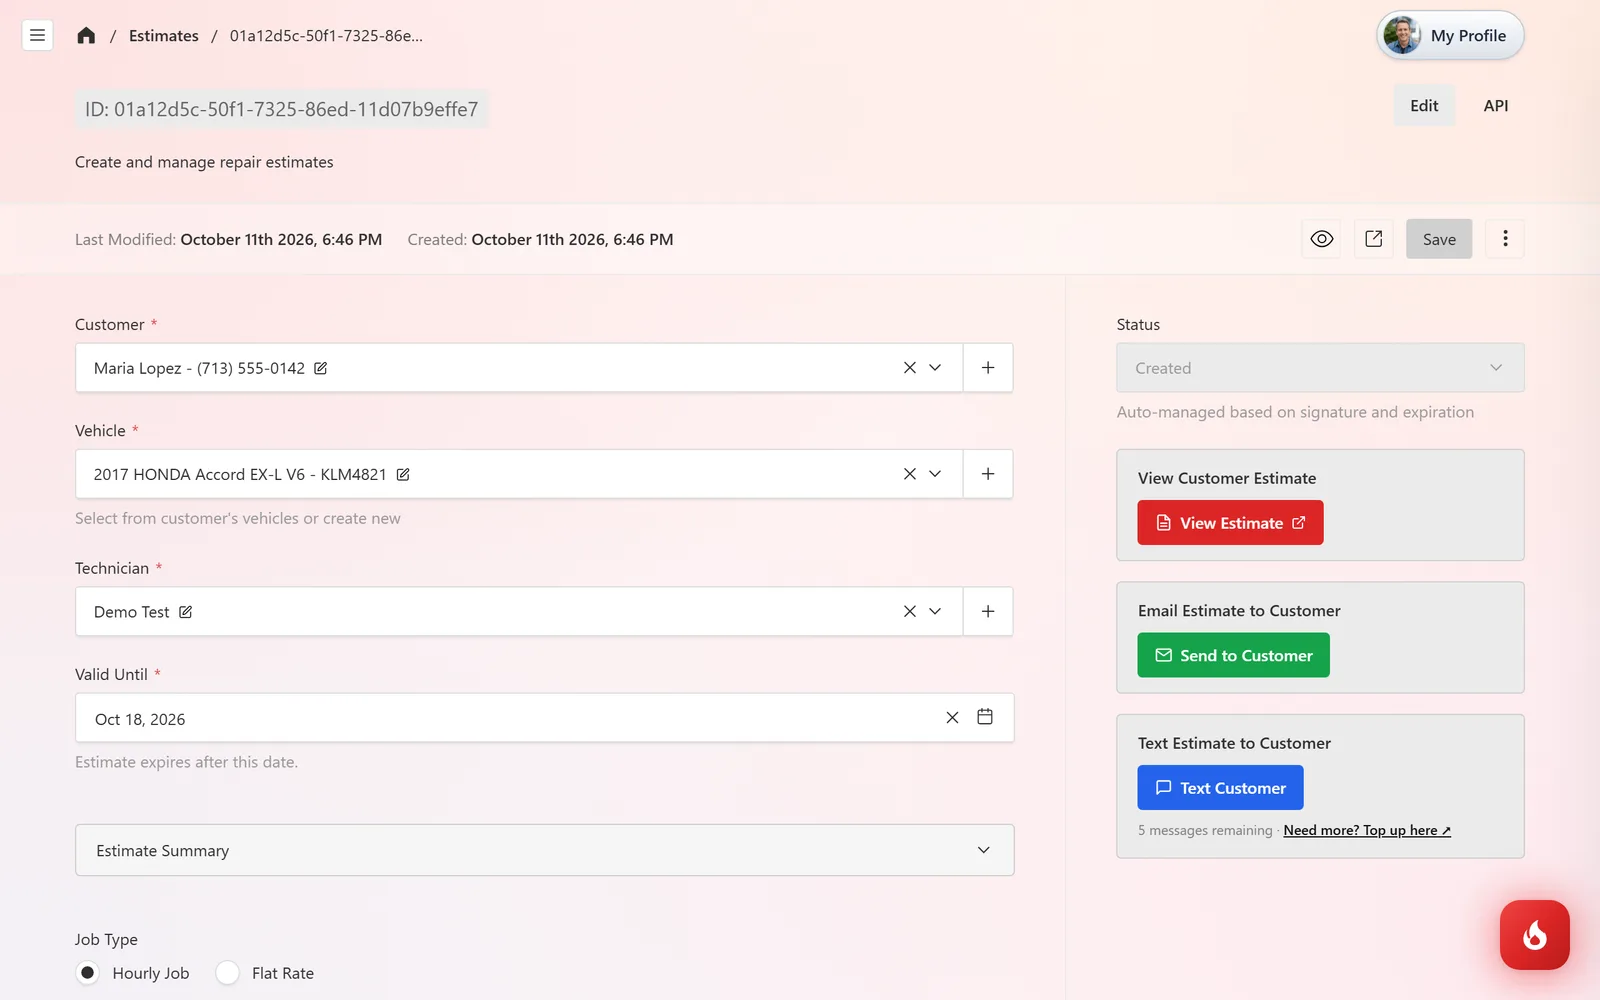
Click Save. The status shows Created, and the View Estimate, Send to Customer, and Text Customer buttons turn on.
What happens next
The status is managed for you. It stays Created until the customer signs, then changes to Signed and an invoice is created from it. If the Valid Until date passes first, it changes to Expired.
- Send it for approval with Send to Customer (email) or Text Customer (SMS). The customer opens a link and approves from their phone.
- See the rest of the Estimates guides for sending, approval, and converting to an invoice.
Frequently asked questions
Hourly Job charges labor as hours multiplied by your labor rate, and the customer can optionally see that breakdown. Flat Rate charges one fixed price for the job.
No. Every estimate belongs to a customer and vehicle so the approval and history stay attached to the right record. Use the + button next to the Customer field to add one on the spot.
No. They open a link in a text or email and approve from their phone browser.