Estimates
Edit, duplicate, or delete an estimate
Find any estimate in RedAppy, change it after sending, duplicate it for a second option, delete it, or give an expired estimate a new date and send it again.
Everything about an estimate can be changed until the customer signs it. This guide covers finding estimates, editing and resending, making a copy, deleting, and what to do when one expires.
Find an estimate
Open Estimates. The list shows the customer, vehicle, Status (Created, Signed, or Expired), Valid Until, and creation date. Click a column header to sort, use Filters to show only one status, or Columns to add fields like Total.
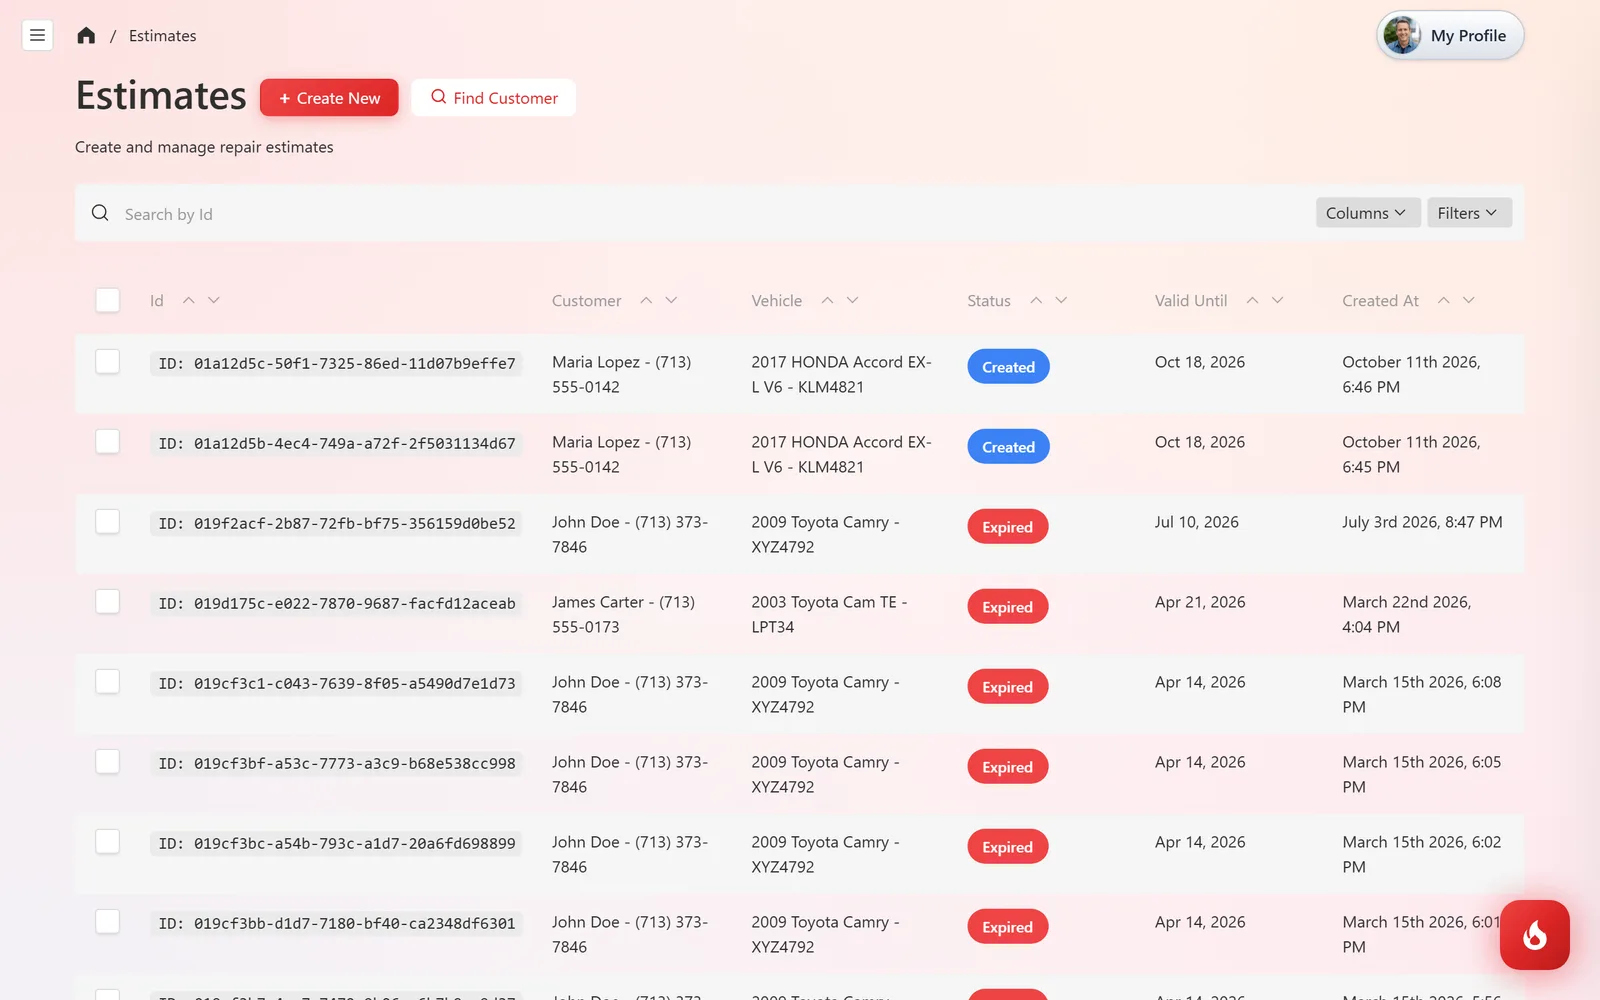
To start from the customer instead, click Find Customer and search by name, phone, email, license plate, or VIN. You get their vehicles and history, and can open or create an estimate from there.
Edit an estimate
Open the estimate, change anything (jobs, parts, hours, discount, notes, Valid Until), and click Save. If you already sent it, send it again or just tell the customer to refresh: the link they have always shows the latest saved version.
Duplicate or delete
Open the estimate and click the ⋮ button to the right of Save. The menu has Create New, Duplicate, and Delete.
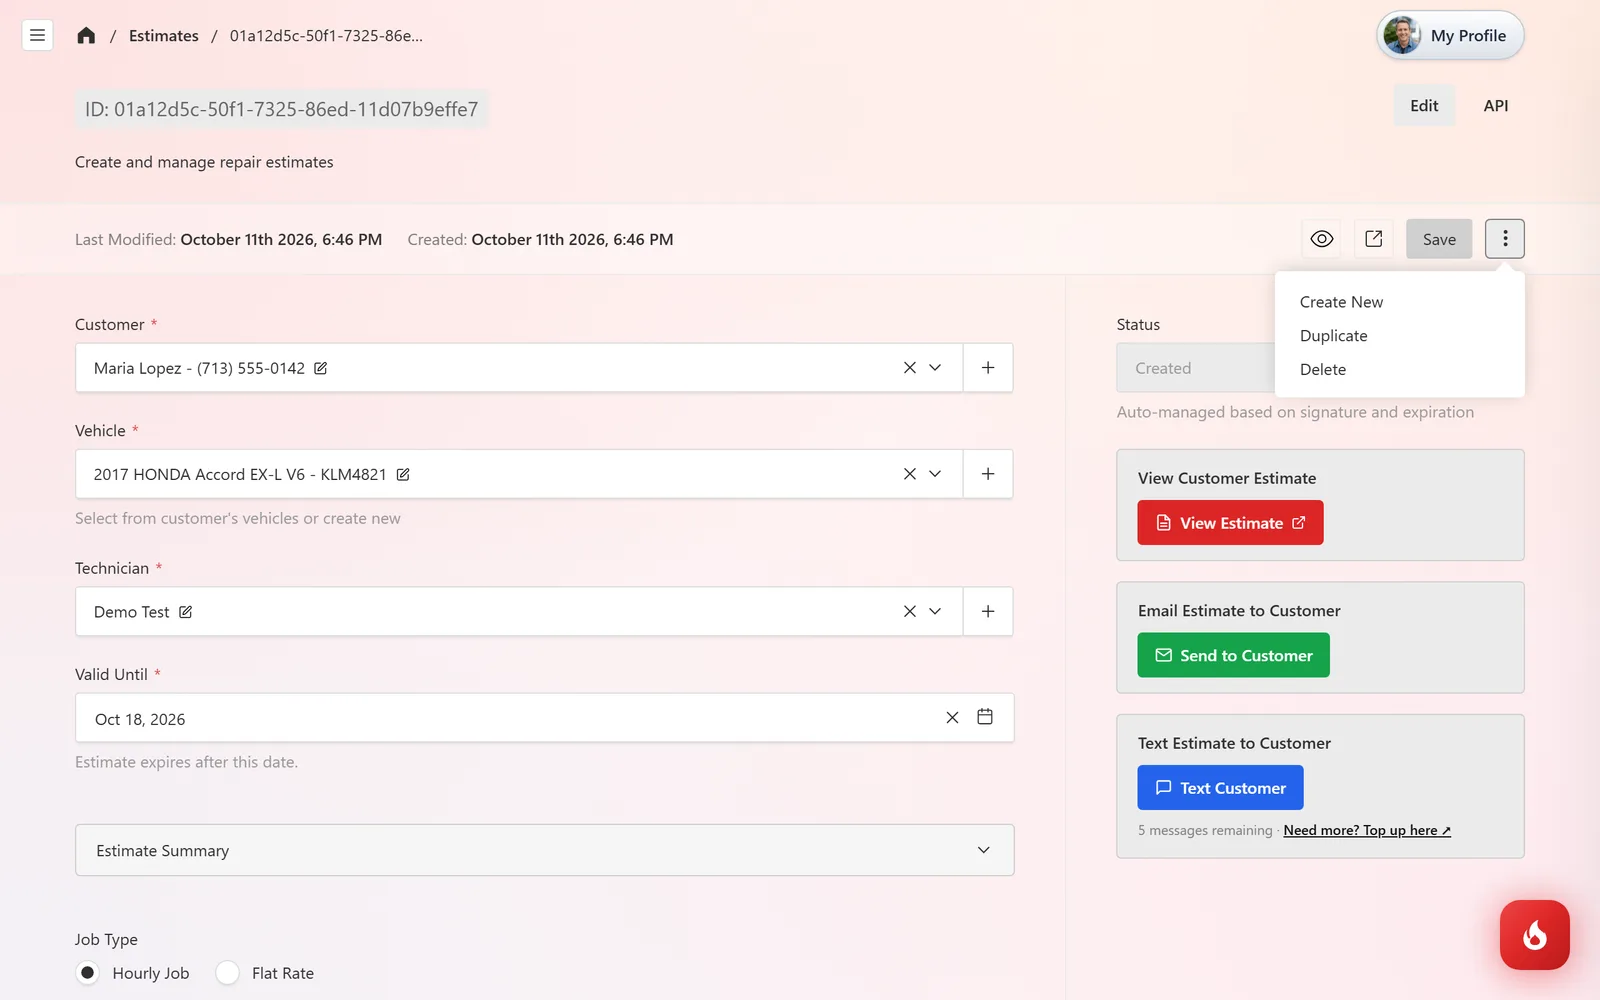
Duplicate makes a copy with the same customer, vehicle, jobs, and parts. Use it to offer a second option, like a "fix it all" and a "just the brakes" version, without retyping everything.
Delete removes the estimate for good. You are asked to confirm first. If the customer already saw it, let it expire instead so it stays in their history.
Expired estimates
When the Valid Until date passes without a signature, the status changes to Expired by itself and the customer can no longer approve from their link.
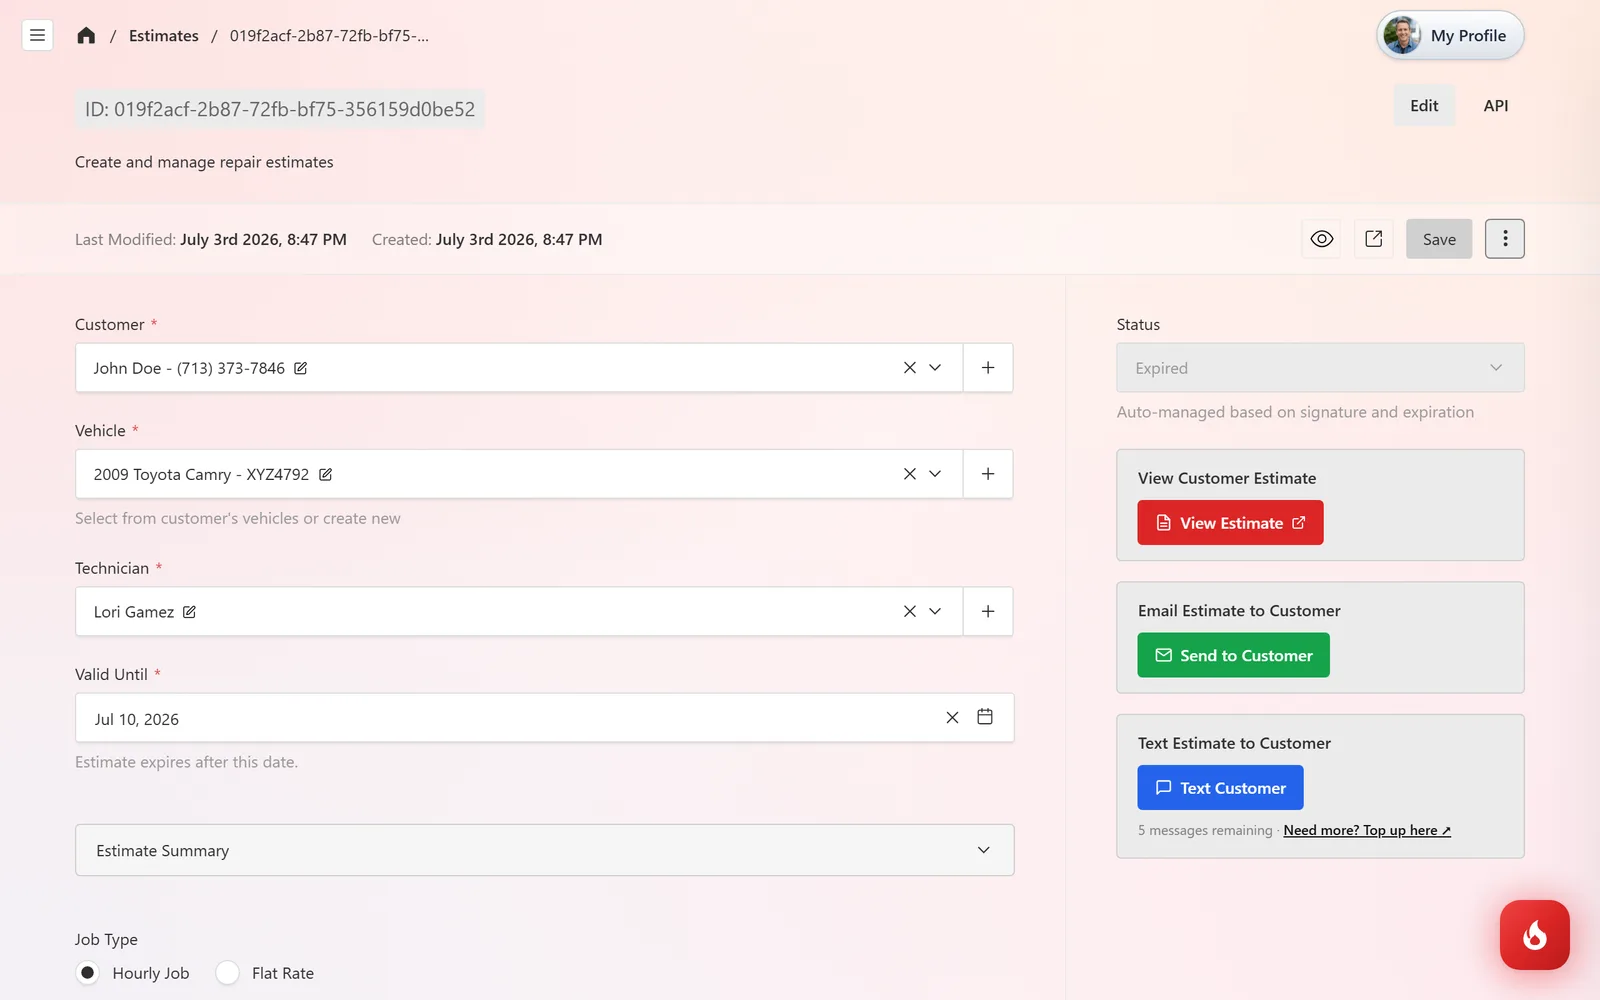
To revive it, set a new Valid Until date, check the prices are still right, click Save, and send it again. Status is managed from the date and signature, so there is nothing else to flip.
Frequently asked questions
The signed estimate is kept as agreed. Open the invoice that was created from it and make the change there.
No. The copy starts fresh with status Created and no signature, so the customer approves it separately.
No. If you are not sure, let the estimate expire instead.