Shop website
Edit website pages and the menu
Change the homepage hero, add blocks like a services grid, offers, photo gallery, or testimonials to any page, and edit the website menu, all from the RedAppy admin.
Pages are built from blocks. Each page has a hero at the top, a stack of content blocks underneath, and SEO fields. You rearrange blocks, swap the photo, change the words, and click Publish. The menu across the top of the site is its own short list you edit the same way.
Edit a page
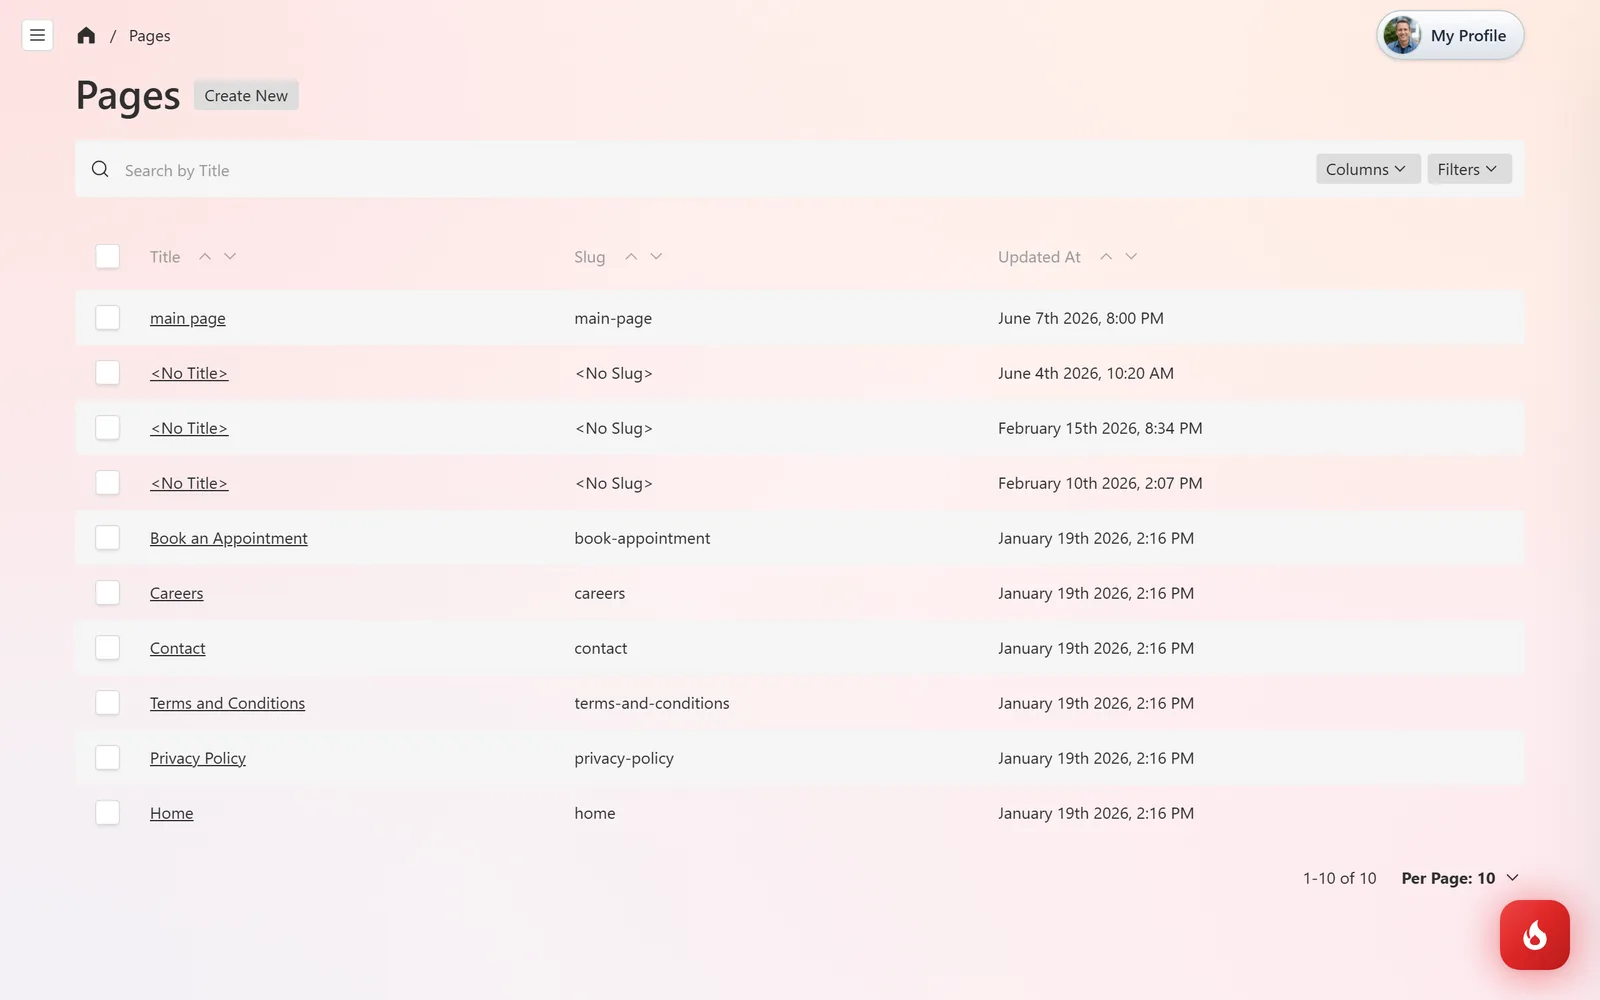
Open Website Content → Pages. The homepage, Book an Appointment, Careers, and any pages you added are listed. Click one to edit it, or Create New for a new page.
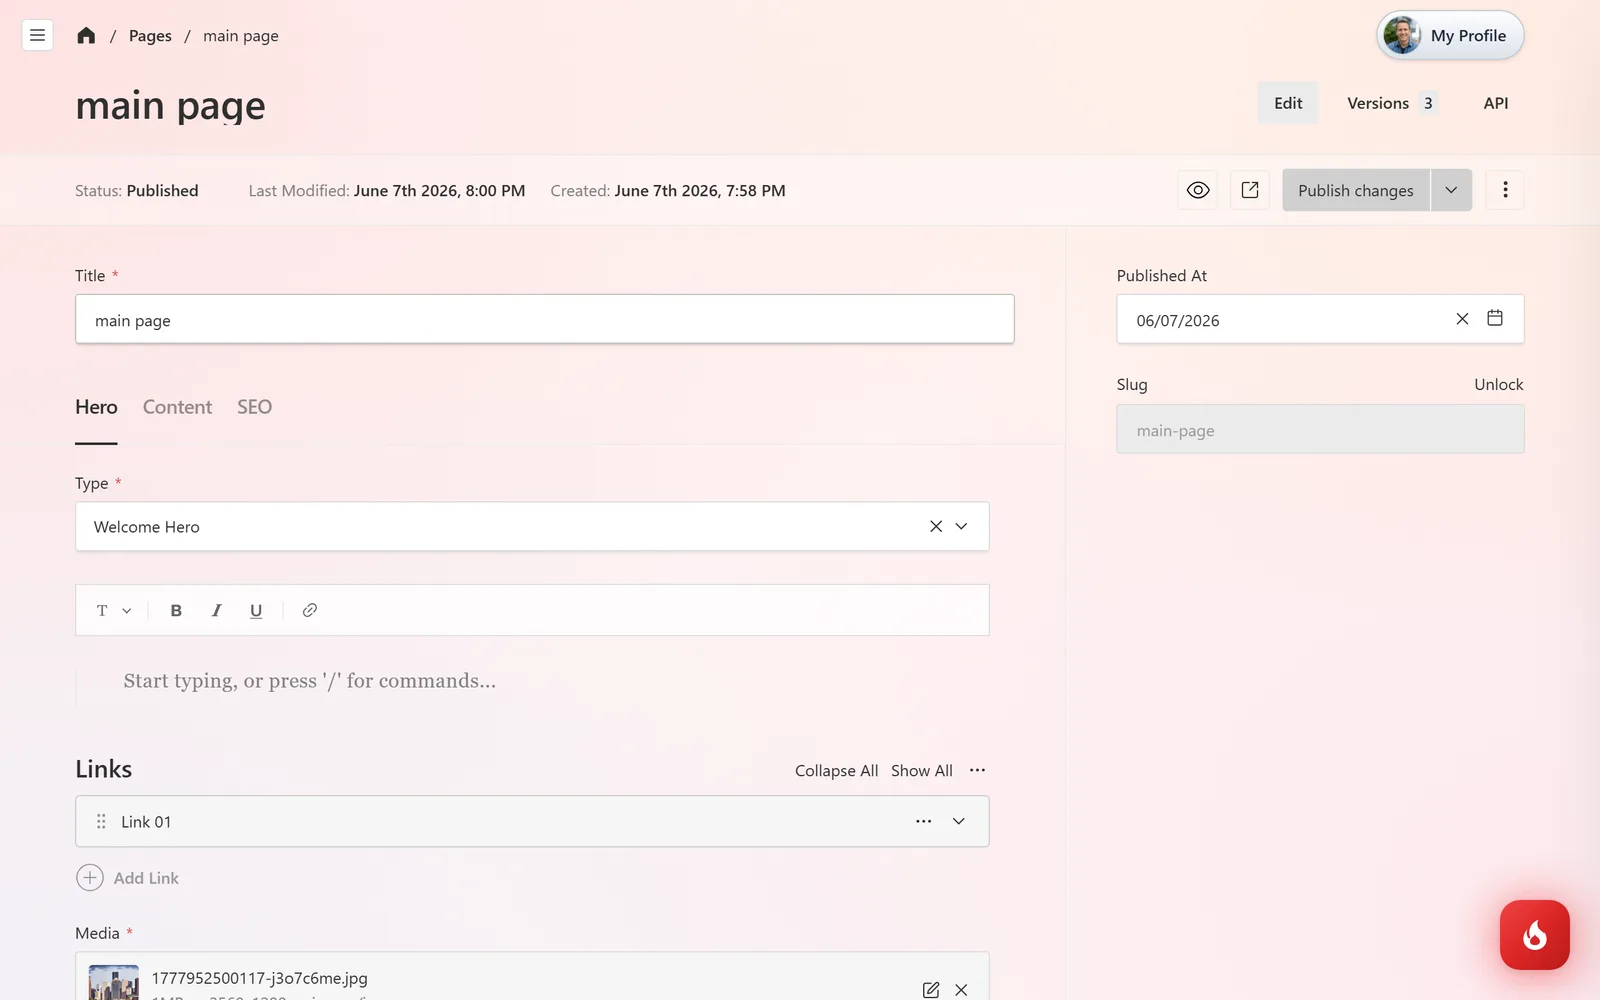
The Hero tab controls the banner at the top: its Type, the buttons under Links, and the Media image. Use the preview icon to see the page as you work. When done, click Publish changes. Schedule Publish lets you set a date, and Unpublish takes a page offline without deleting it.
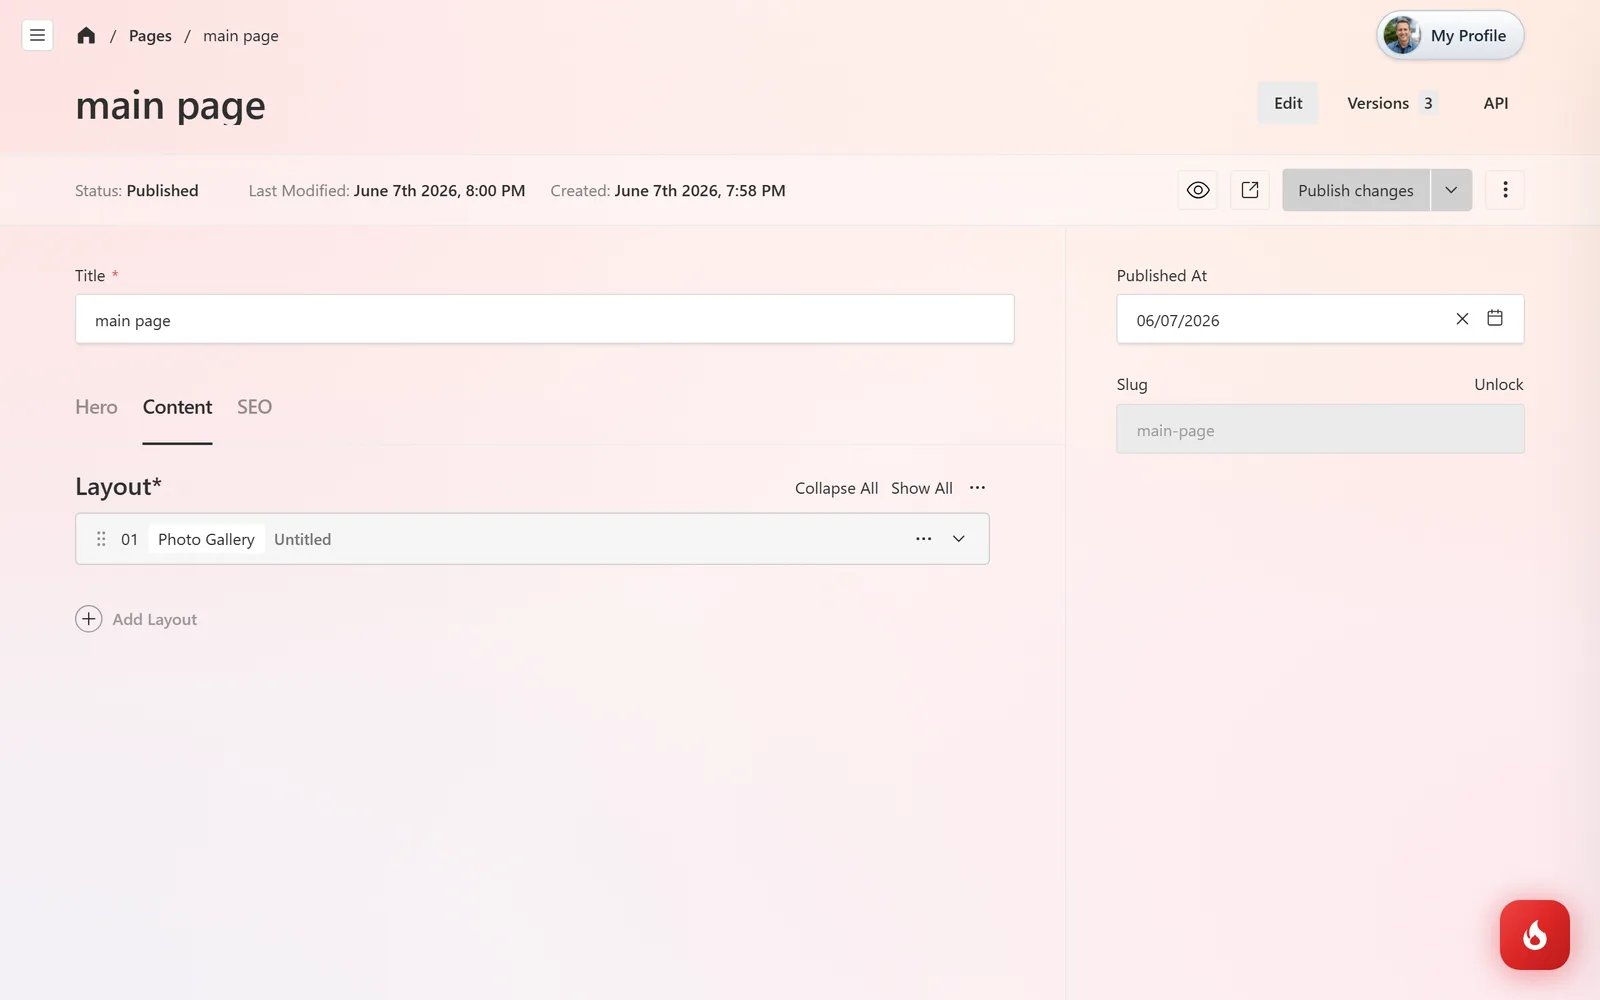
The Content tab is the list of blocks below the hero. Drag to reorder, open a block to edit its text and images, or click Add Layout to add one.
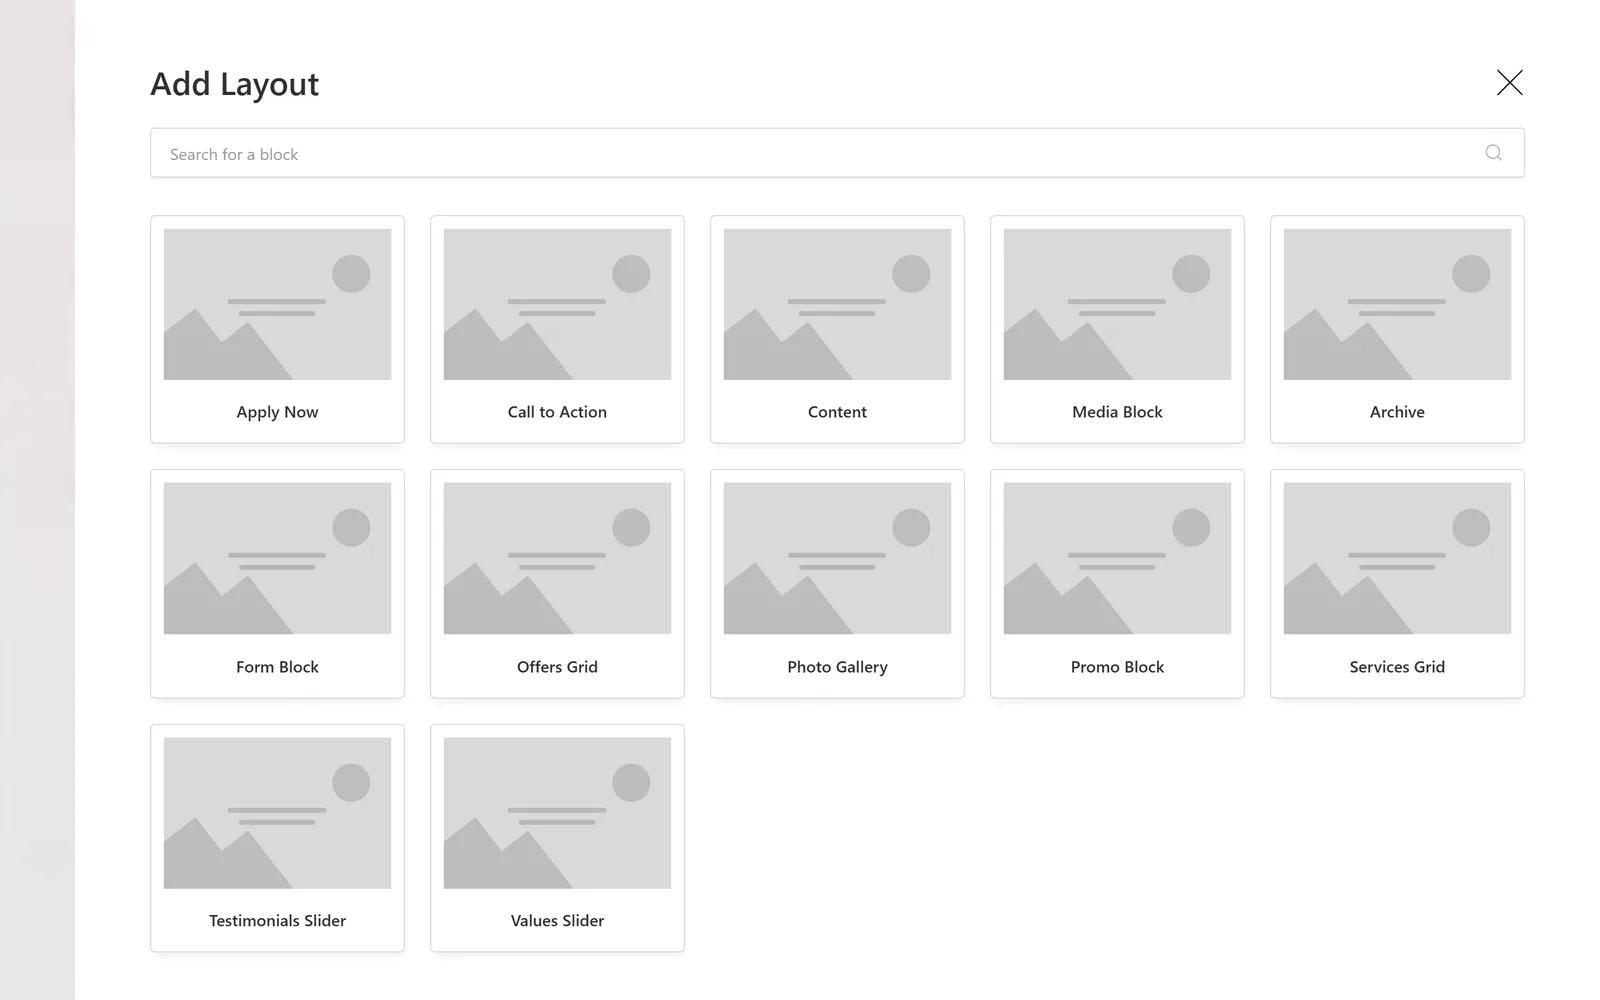
Pick a block type: Content (text columns), Media Block, Call to Action, Services Grid, Offers Grid, Photo Gallery, Testimonials Slider, Values Slider, Promo Block, Form Block (any form, including Book an Appointment), Archive (blog posts), or Apply Now (job applications).
Edit the menu
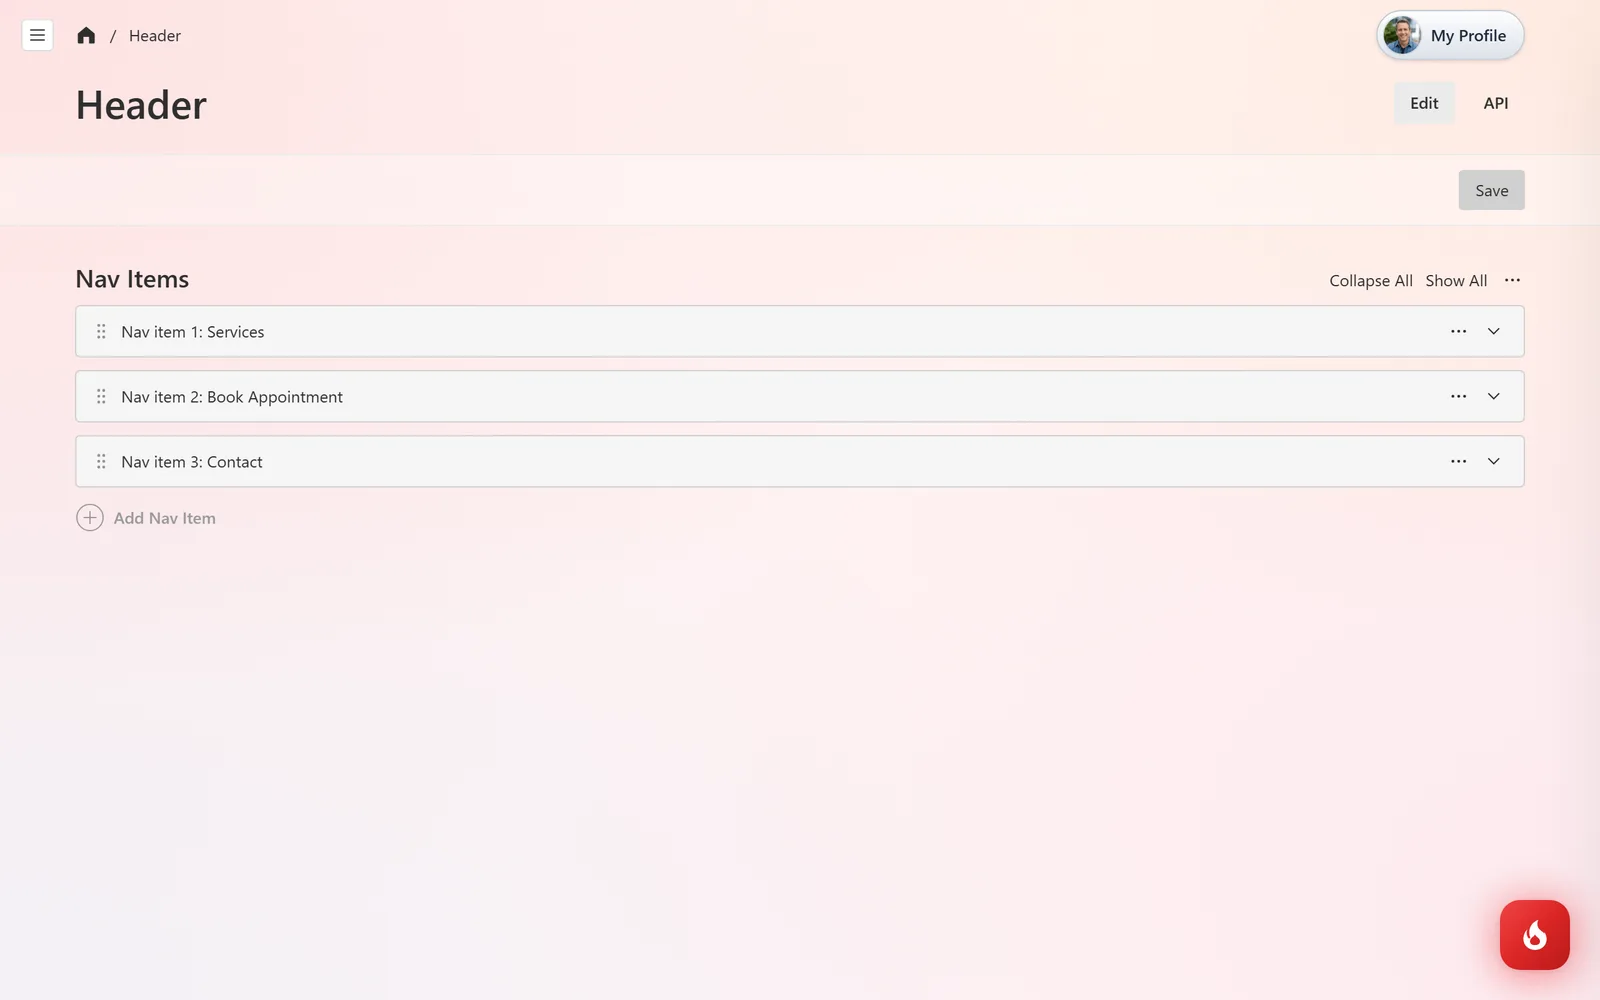
Open Website Content → Header. Nav Items is the menu across the top of every page. Add a link to a page you created with Add Nav Item, reorder with the arrows, and click Save. Footer works the same way for the bottom links.
The SEO tab on every page has the title and description shown in Google results. Your shop name, address, phone, and hours in the header and footer come from Shop Settings, so you set those once.

Frequently asked questions
Yes. The preview button in the editor shows the draft, with mobile, tablet, and desktop widths.
Create and publish the page, then add a Nav Item in Header that links to it.
Yes. Your site runs on your domain, and the admin, kiosk, and customer links use it too.