Getting started
Add your team
Give each technician and service writer their own RedAppy login: name, email, password, role, what they can see and change, and which portal pages they can open.
Each person on the team gets their own login. That is what lets you assign a technician to a job, see who wrote an estimate, and decide who can open the numbers. Adding someone takes a minute.
Add a user
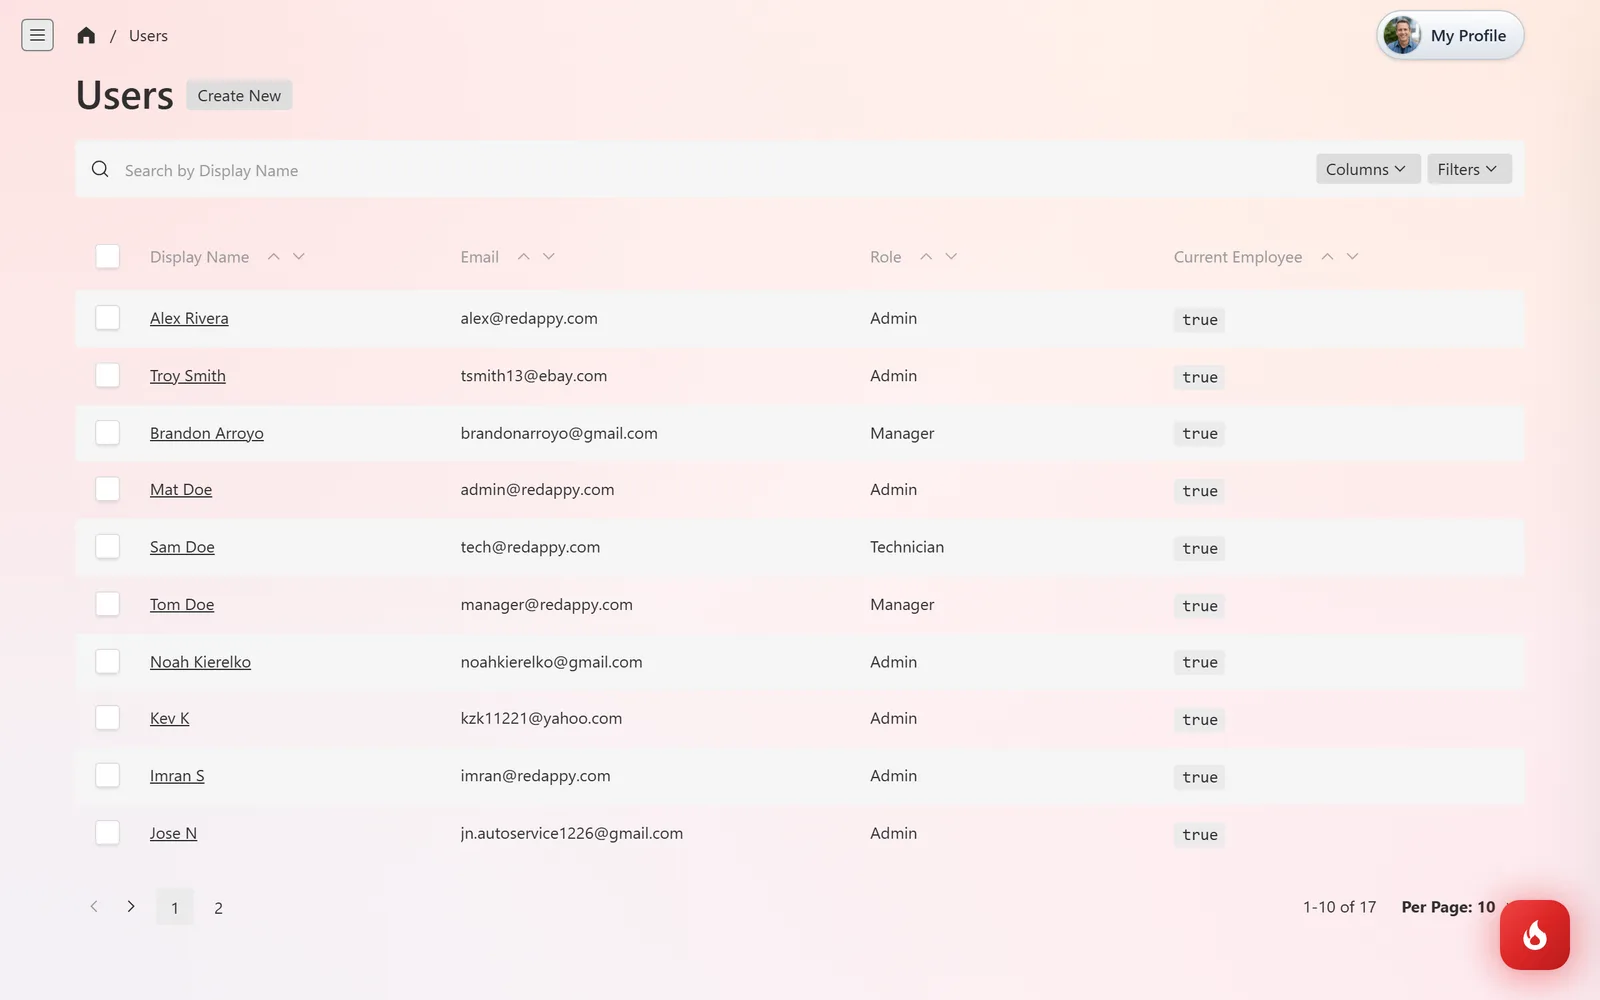
Open Shop Setup → Users and click Create New. The list shows everyone with their role and whether they are a current employee.
Enter their Email and a Password (they can change it later with Forgot password?), then First Name, Last Name, and Phone.
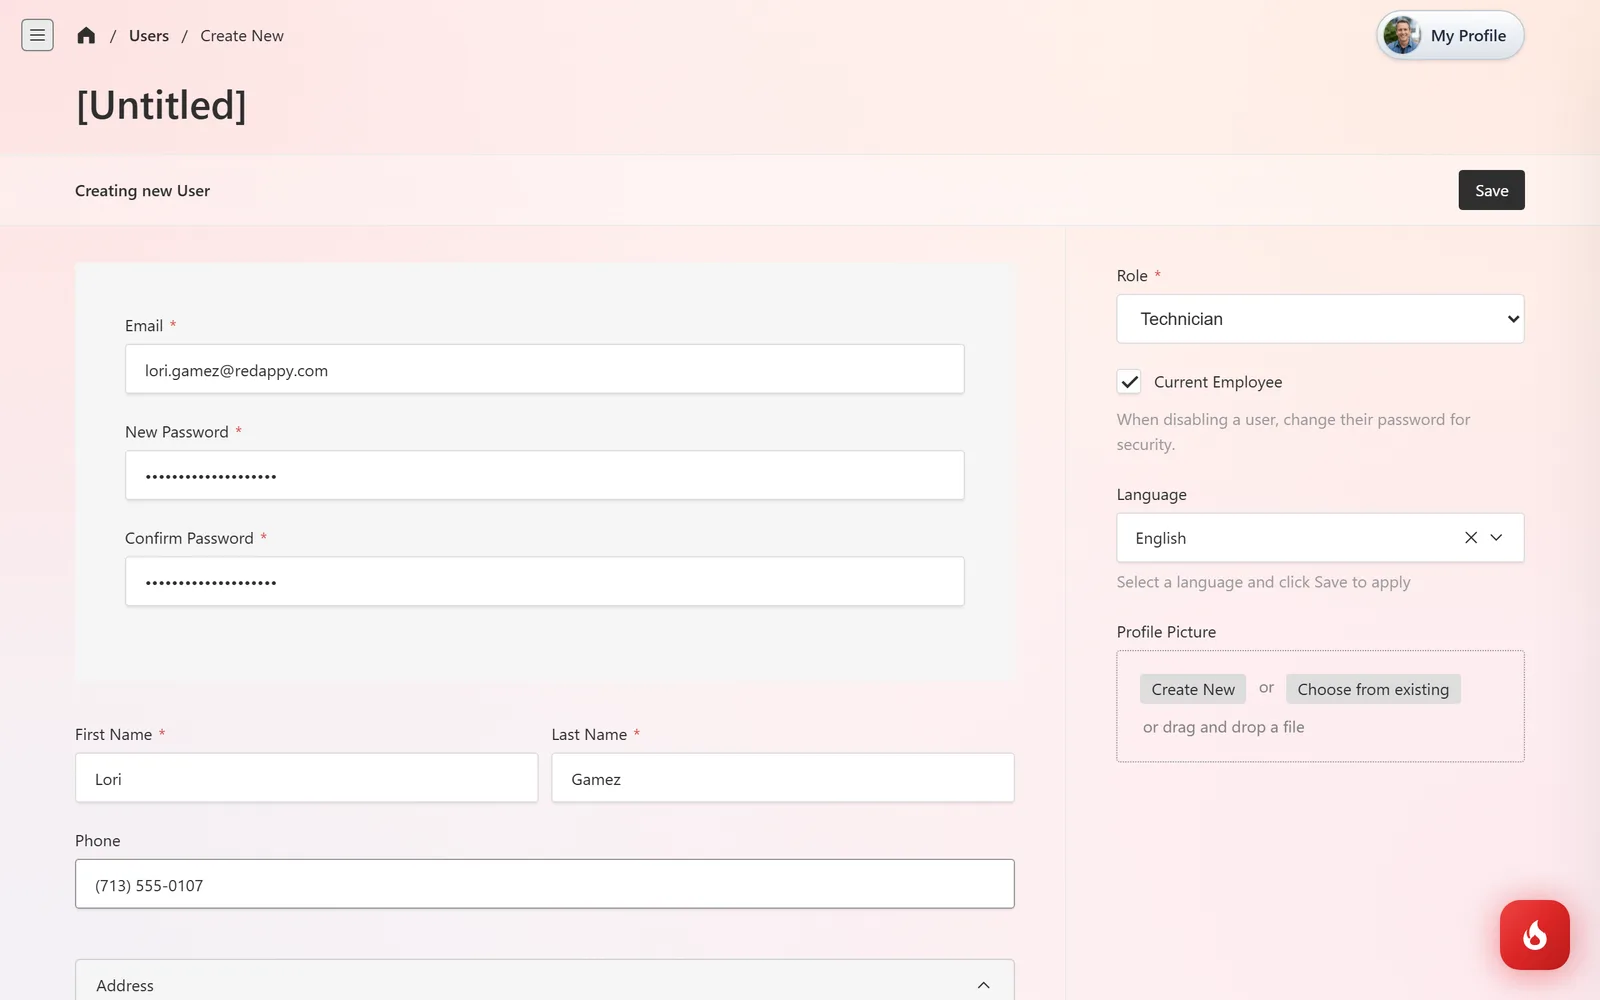
In the right column pick a Role: Admin, Manager, or Technician. Leave Current Employee ticked, and set their Language to English or Spanish for the admin screens.
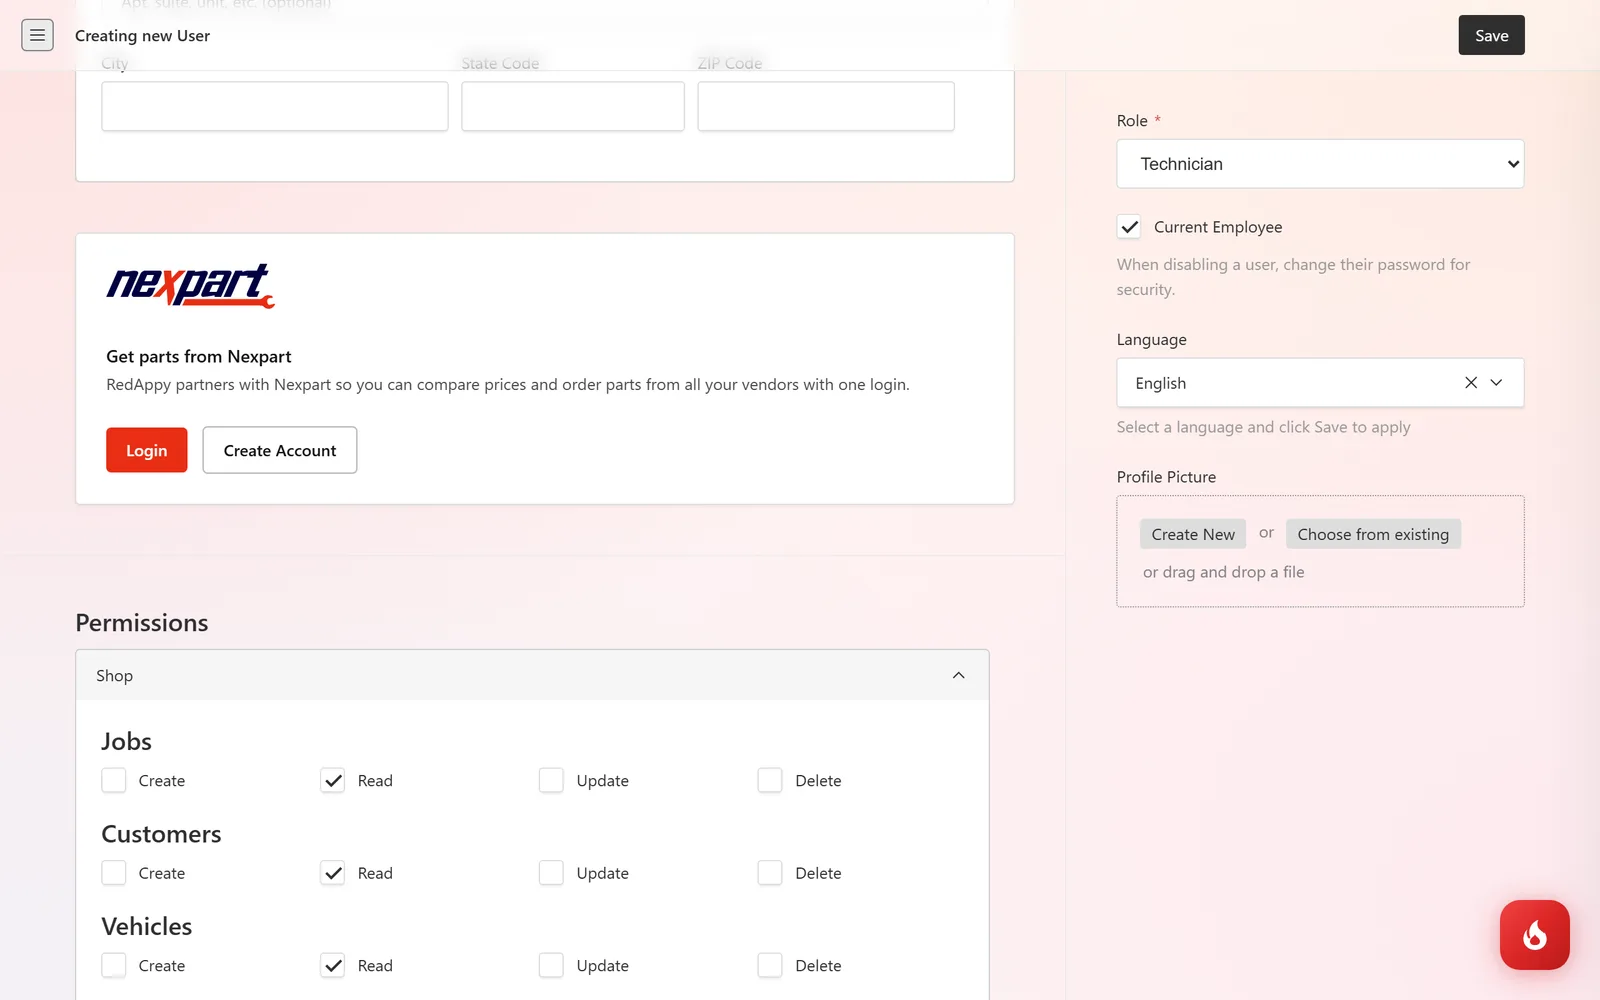
Scroll to Permissions. Each area of the shop (Jobs, Customers, Vehicles, Estimates, Invoices, Inventory, and so on) has Create, Read, Update, and Delete boxes. The role fills in sensible defaults; adjust any box for this person. A technician who should see estimates but not change them gets Read only, for example.
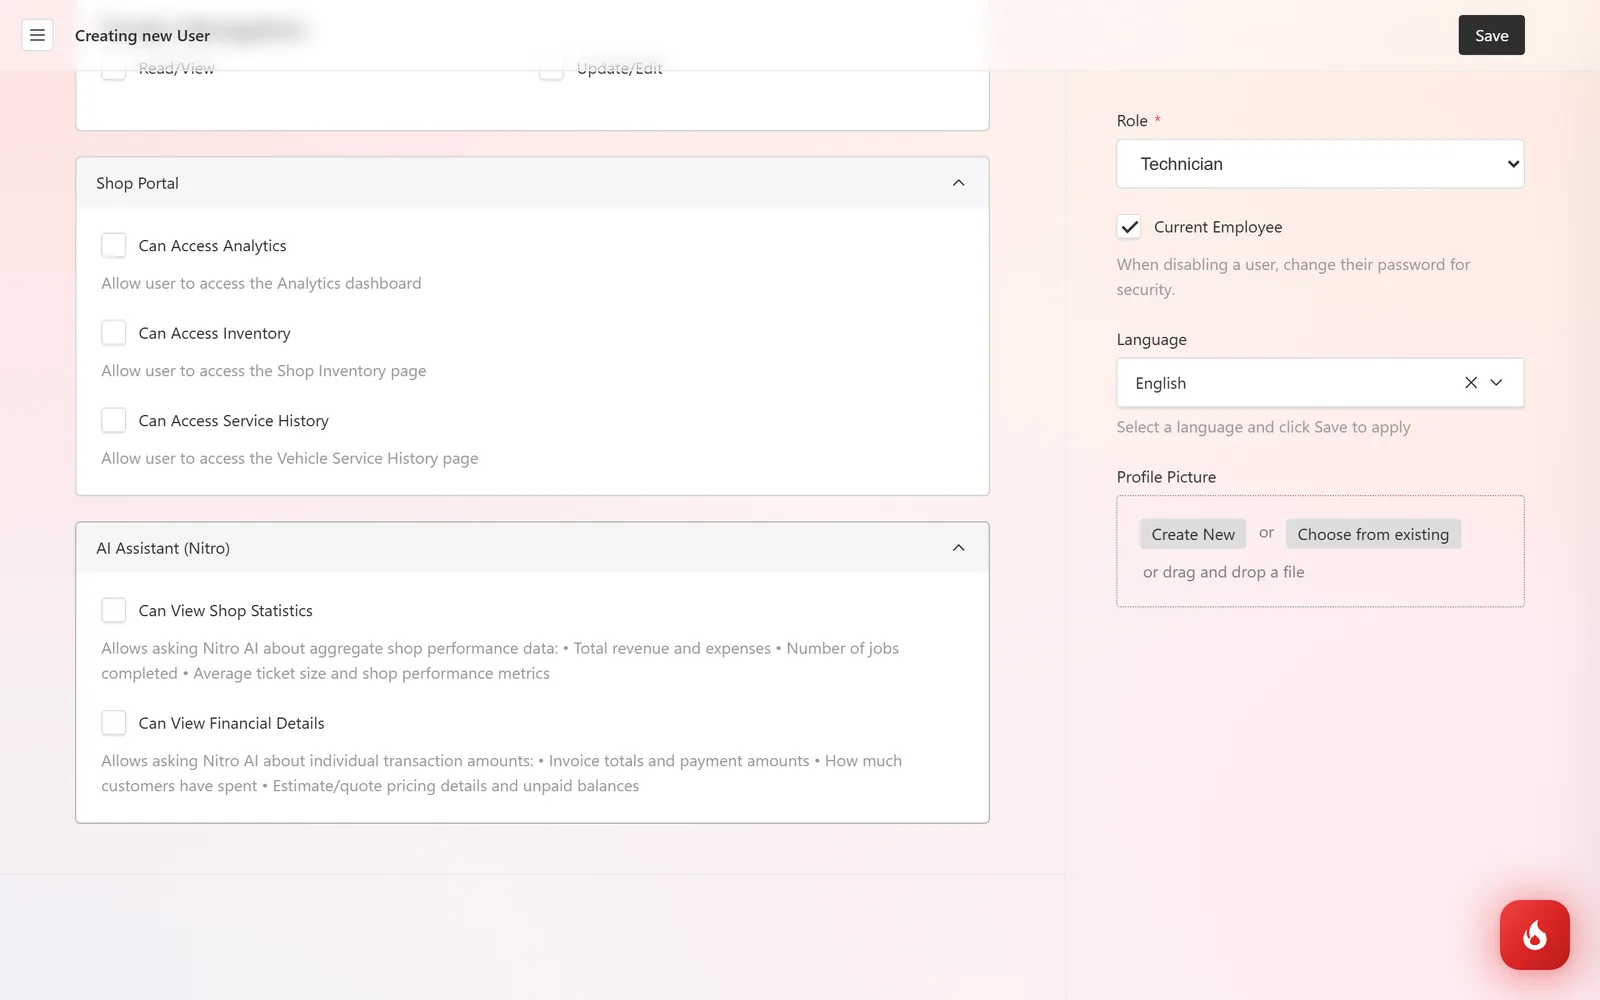
Under Shop Portal, choose which full-screen tools they can open: Analytics, Inventory, and Service History. Under AI Assistant (Nitro), decide whether they can ask Nitro about shop statistics and about financial details like invoice totals and customer balances. Click Save.
When someone leaves
Open their user, untick Current Employee, change their password, and save. Their name stays on past estimates and invoices, and they drop out of technician pickers and payroll.
Frequently asked questions
As many as you need. Everyone in the shop can have their own login.
Yes, with the same email and password at your shop's address. The Shop Board and inspections are built for it.
A role is a starting set of permissions: Admin has everything, Manager most of it, Technician the day-to-day. The boxes under Permissions are what actually apply, so you can tune any user.