Getting started
Set up your shop
The one-time setup for a new RedAppy shop: shop name and logo, business hours, default labor rate, parts markup ranges, shop fees, sales tax, and your job list.
Everything in this guide lives on one page, Shop Setup → Shop Settings, and most of it is set once. These values are what every new estimate and invoice starts from, so getting them right first saves a lot of retyping later.
Shop Settings, section by section
Open Shop Setup → Shop Settings. Under Shop Information, enter your Shop Name, Phone, Email, and Address. These print on every estimate and invoice the customer sees.
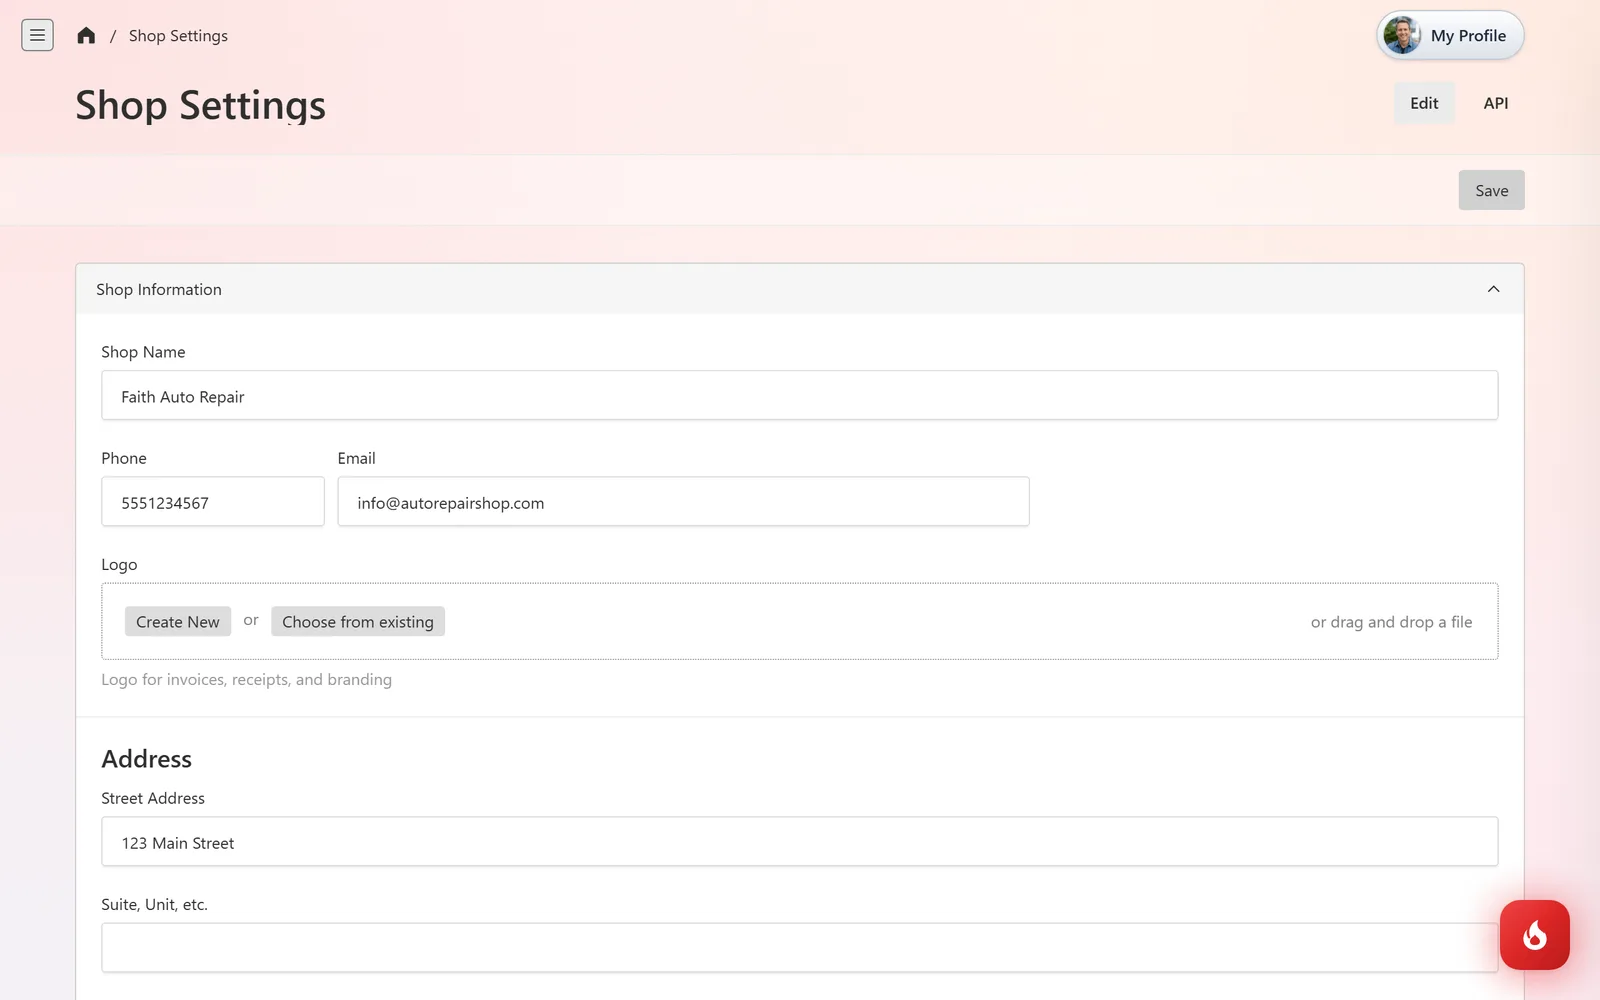
Upload a Logo for receipts and branding, and check the Shop Timezone so calendar times are right.
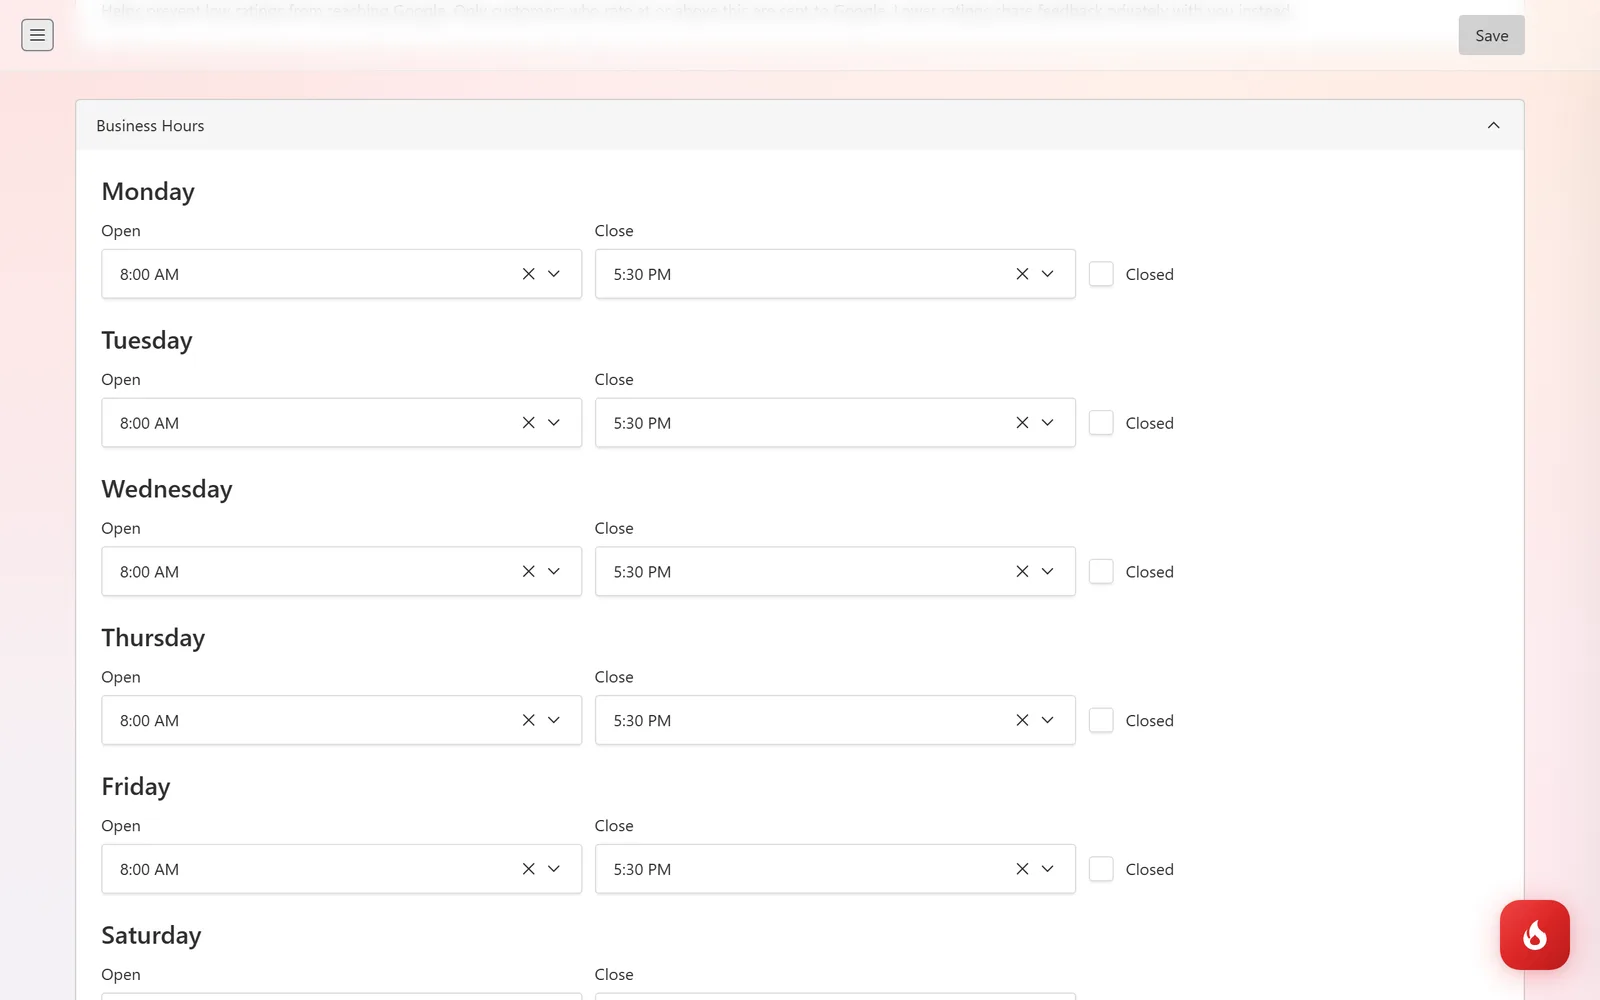
Under Business Hours, set Open and Close for each day, or tick Closed. Online booking and the calendar use these hours.
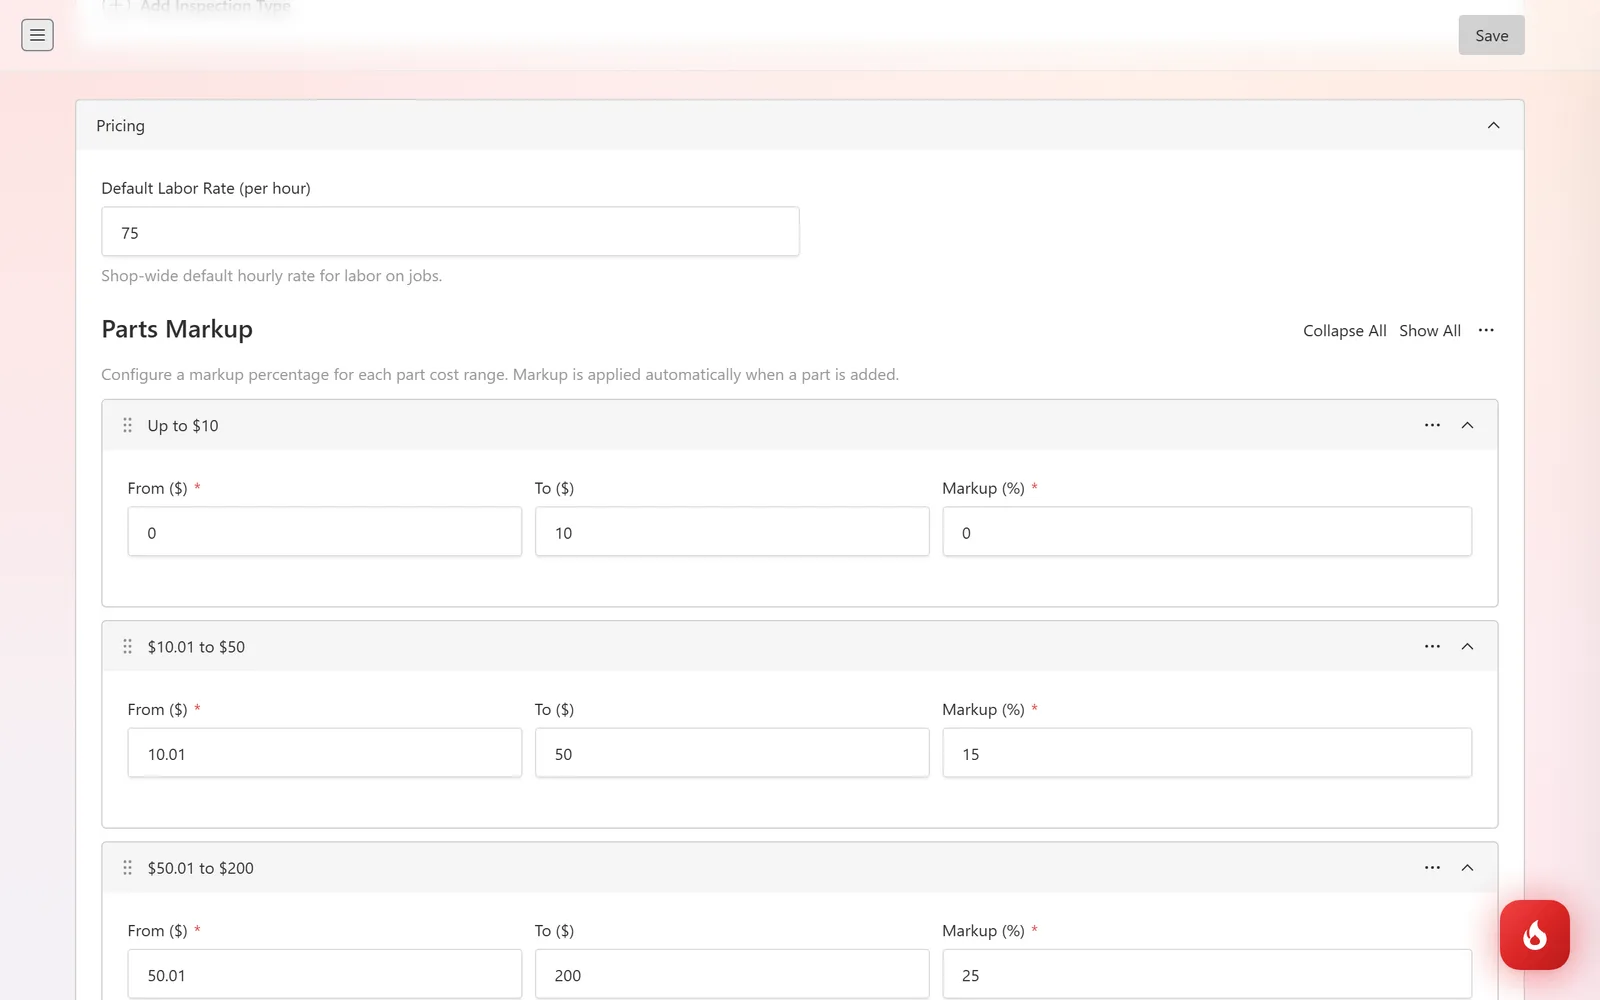
Under Pricing, set the Default Labor Rate (per hour). Then fill in Parts Markup: one row per cost range, each with a Markup (%). When you add a part to an estimate, its cost is matched to a range and the markup is applied for you. Use Add Range for more tiers.
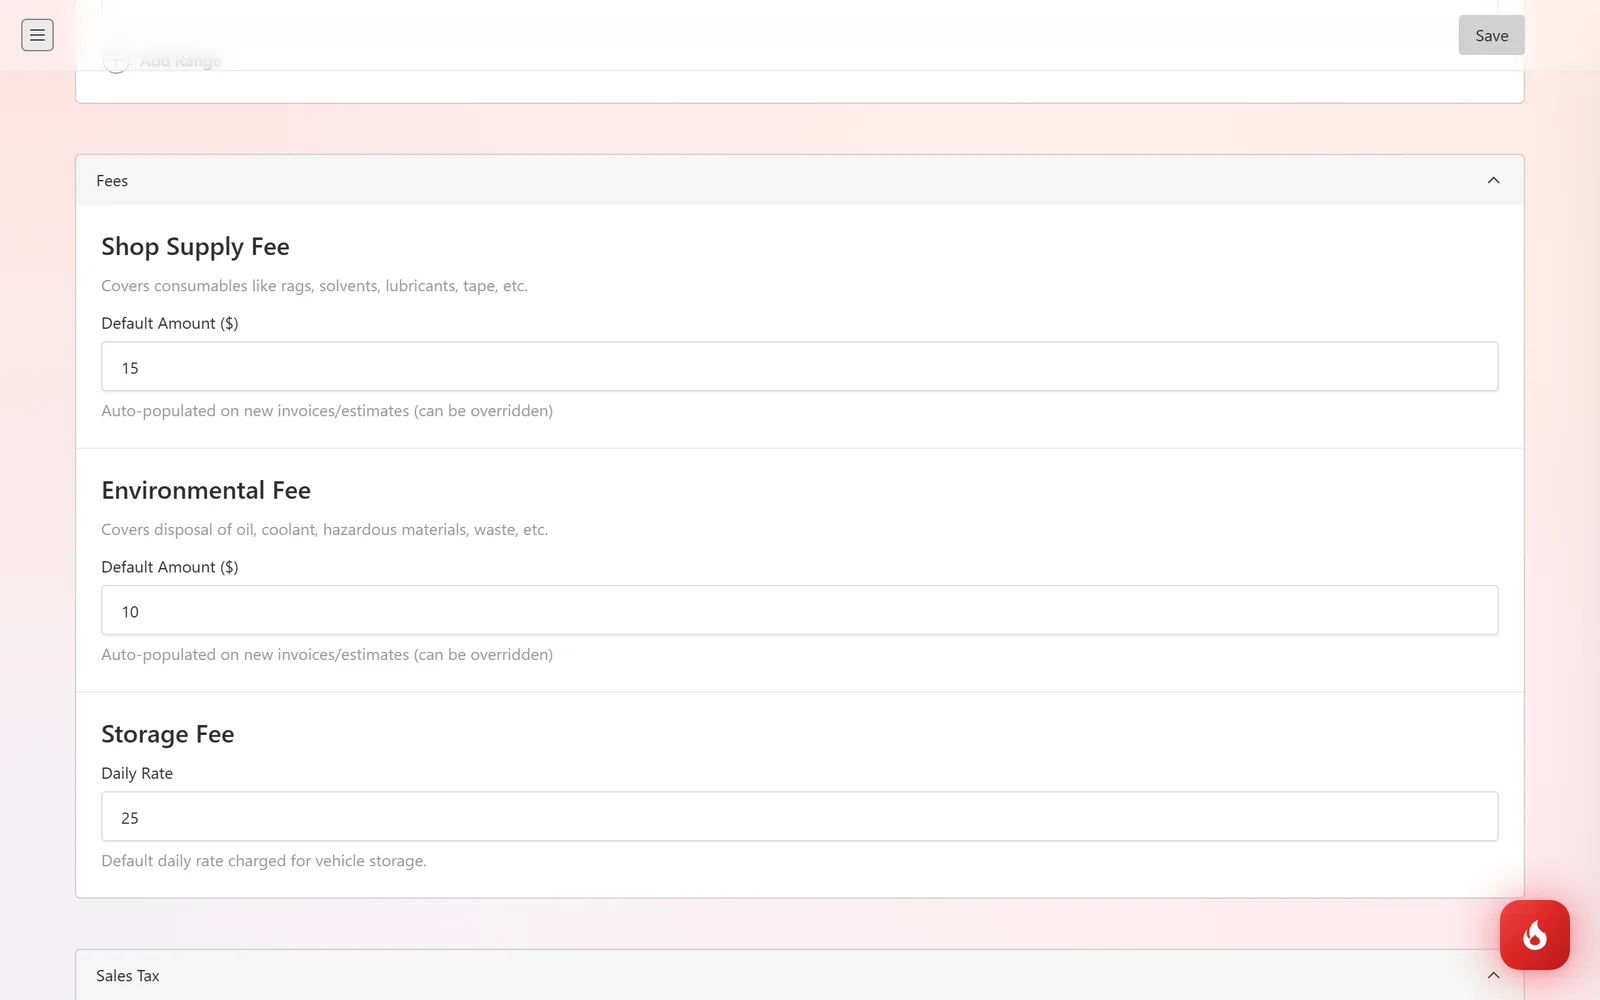
Under Fees, set the default Shop Supply Fee and Environmental Fee that are added to each new estimate and invoice (you can change them on a single job), and the daily Storage Fee rate. Under Sales Tax, enter your rate and tick which parts of the bill it applies to: labor, parts, flat-rate jobs, fees. Click Save.
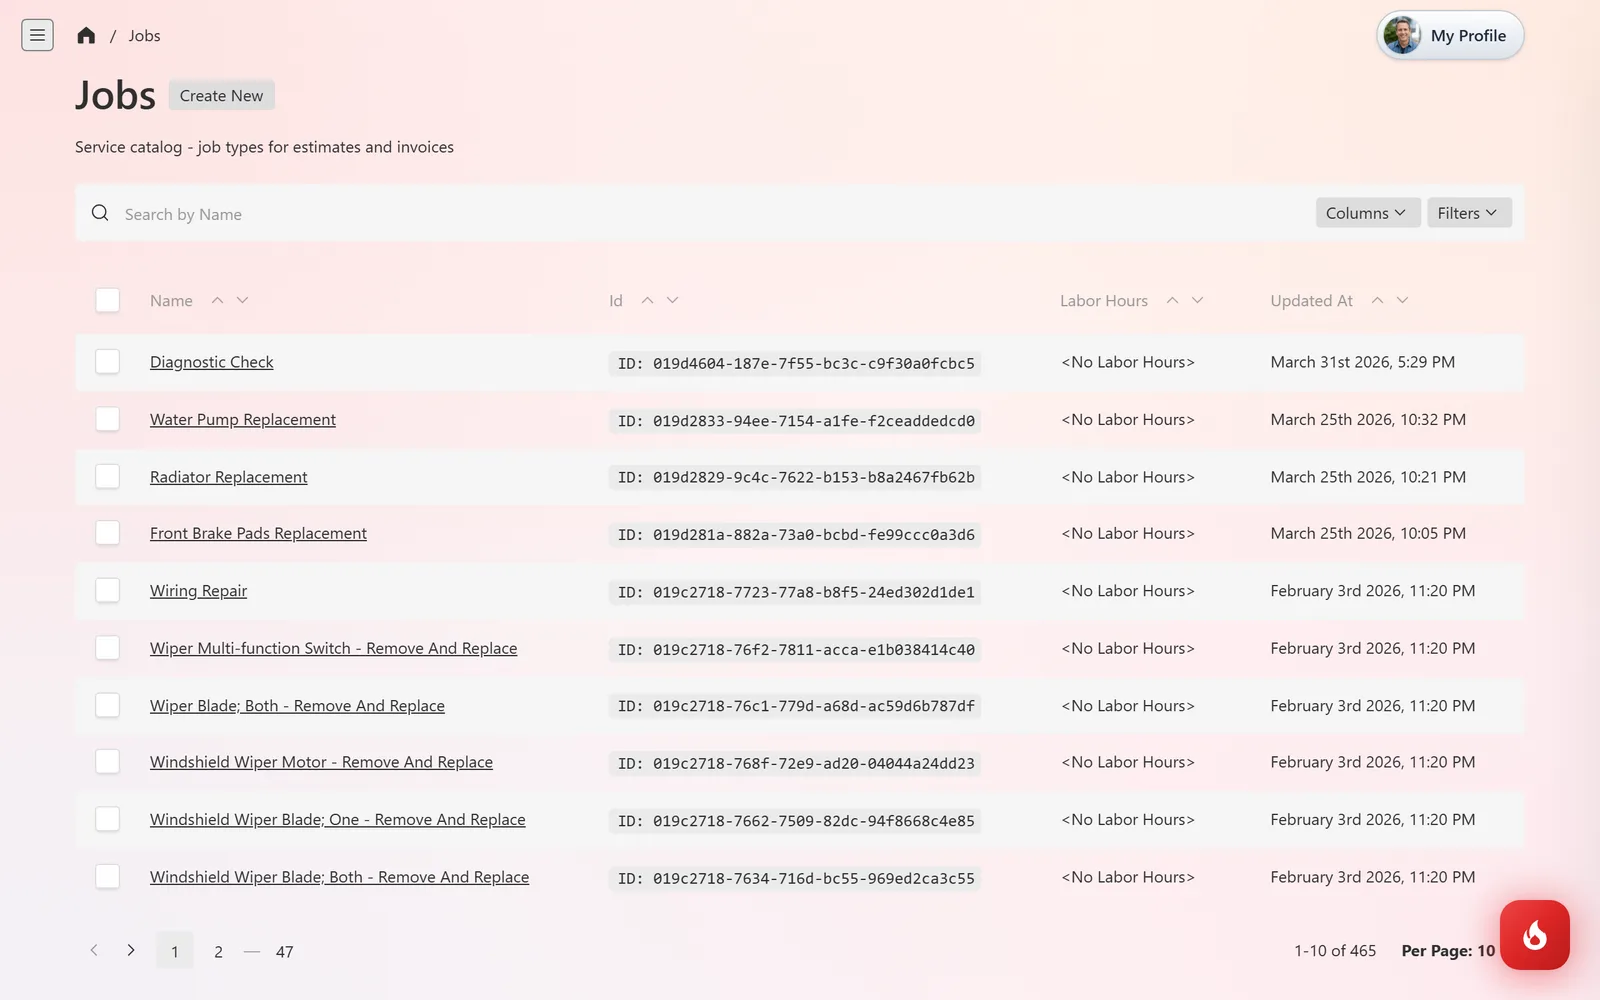
Open Service Work → Jobs. This is your job list, the names you pick from when building an estimate. Add the jobs you do most, and optionally a default Labor Hours for each so estimates fill in faster.
Frequently asked questions
Yes. The default fills in, and you can overwrite the Labor Rate on any job.
Set its default to 0. It will still appear as a line you can fill in on a particular invoice.
Each row covers part costs from From to To. A $30 part falls in the $10.01 to $50 row, so with 15% there it sells for $34.50. Leave To blank on the last row for "and up".