Invoices & payments
Create an invoice
Create an auto repair invoice in RedAppy from a signed estimate or from scratch: customer, vehicle, mileage, labor and parts, fees, tax, and the balance due.
An invoice is what the customer pays. Most invoices are created for you the moment a customer signs an estimate. This guide covers that, plus making one from scratch for a walk-in or a job that never had an estimate.
From a signed estimate
When a customer approves an estimate, RedAppy creates the invoice automatically with the same jobs, parts, fees, and tax. Open Invoices and it is at the top of the list, with the Original Estimate field linking back. Add mileage, adjust anything that changed during the repair, and go on to recording the payment.
From scratch
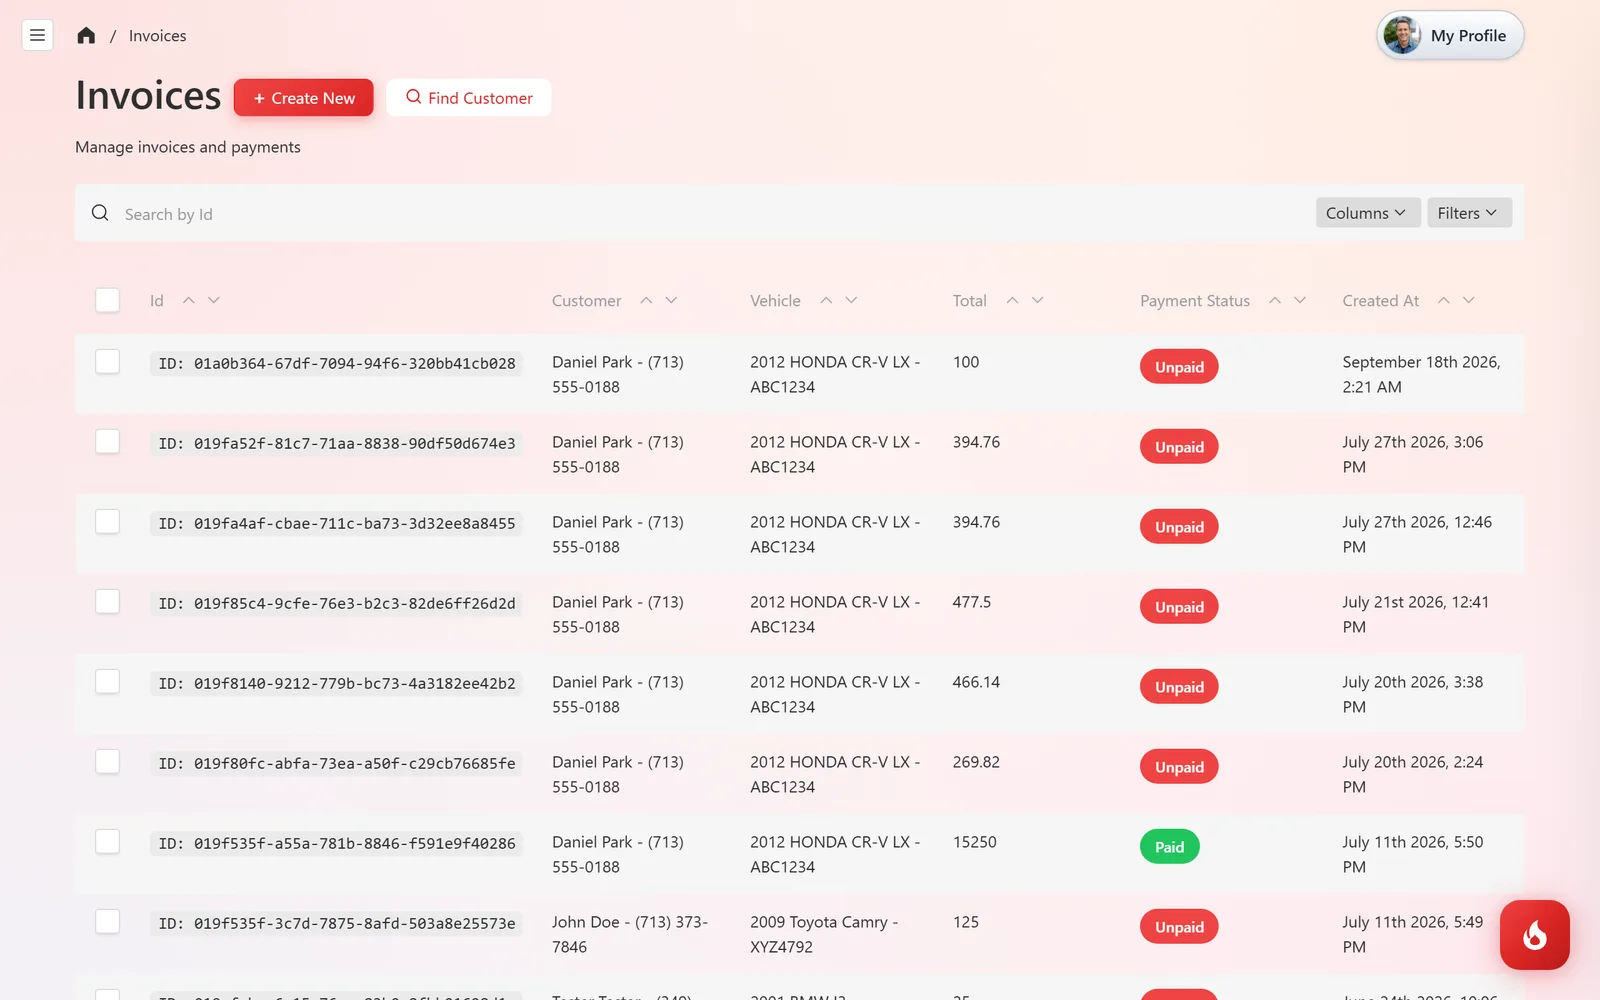
Open Invoices and click Create New. The list shows every invoice with its total and Payment Status, so you can see at a glance who still owes you.
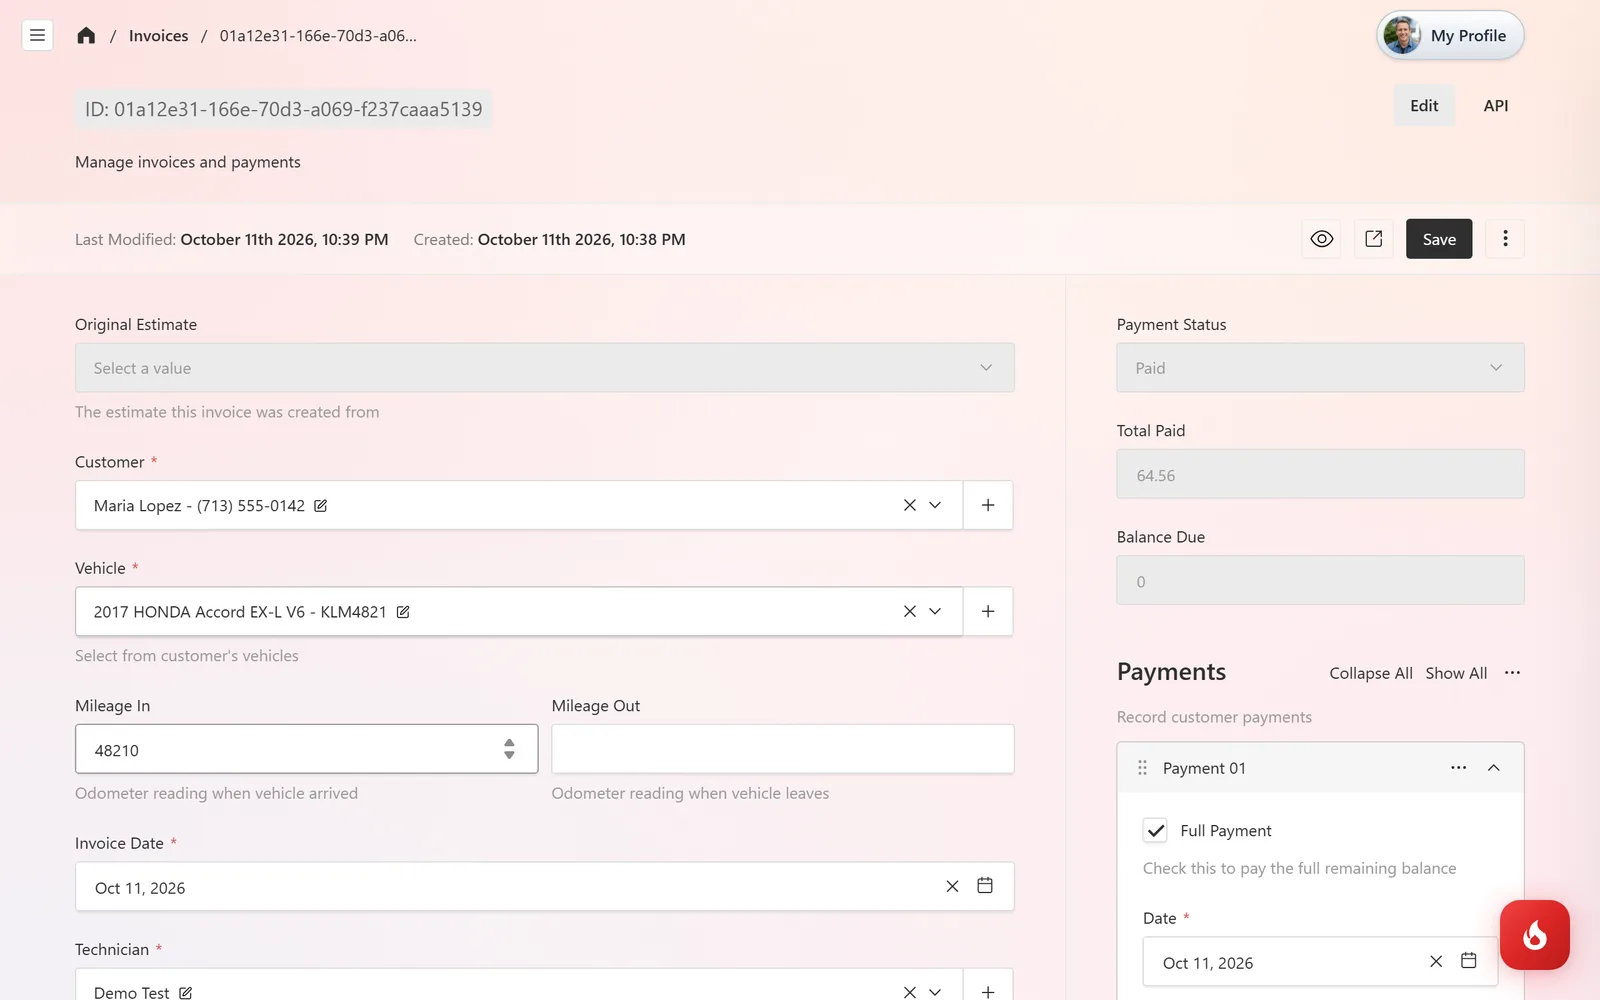
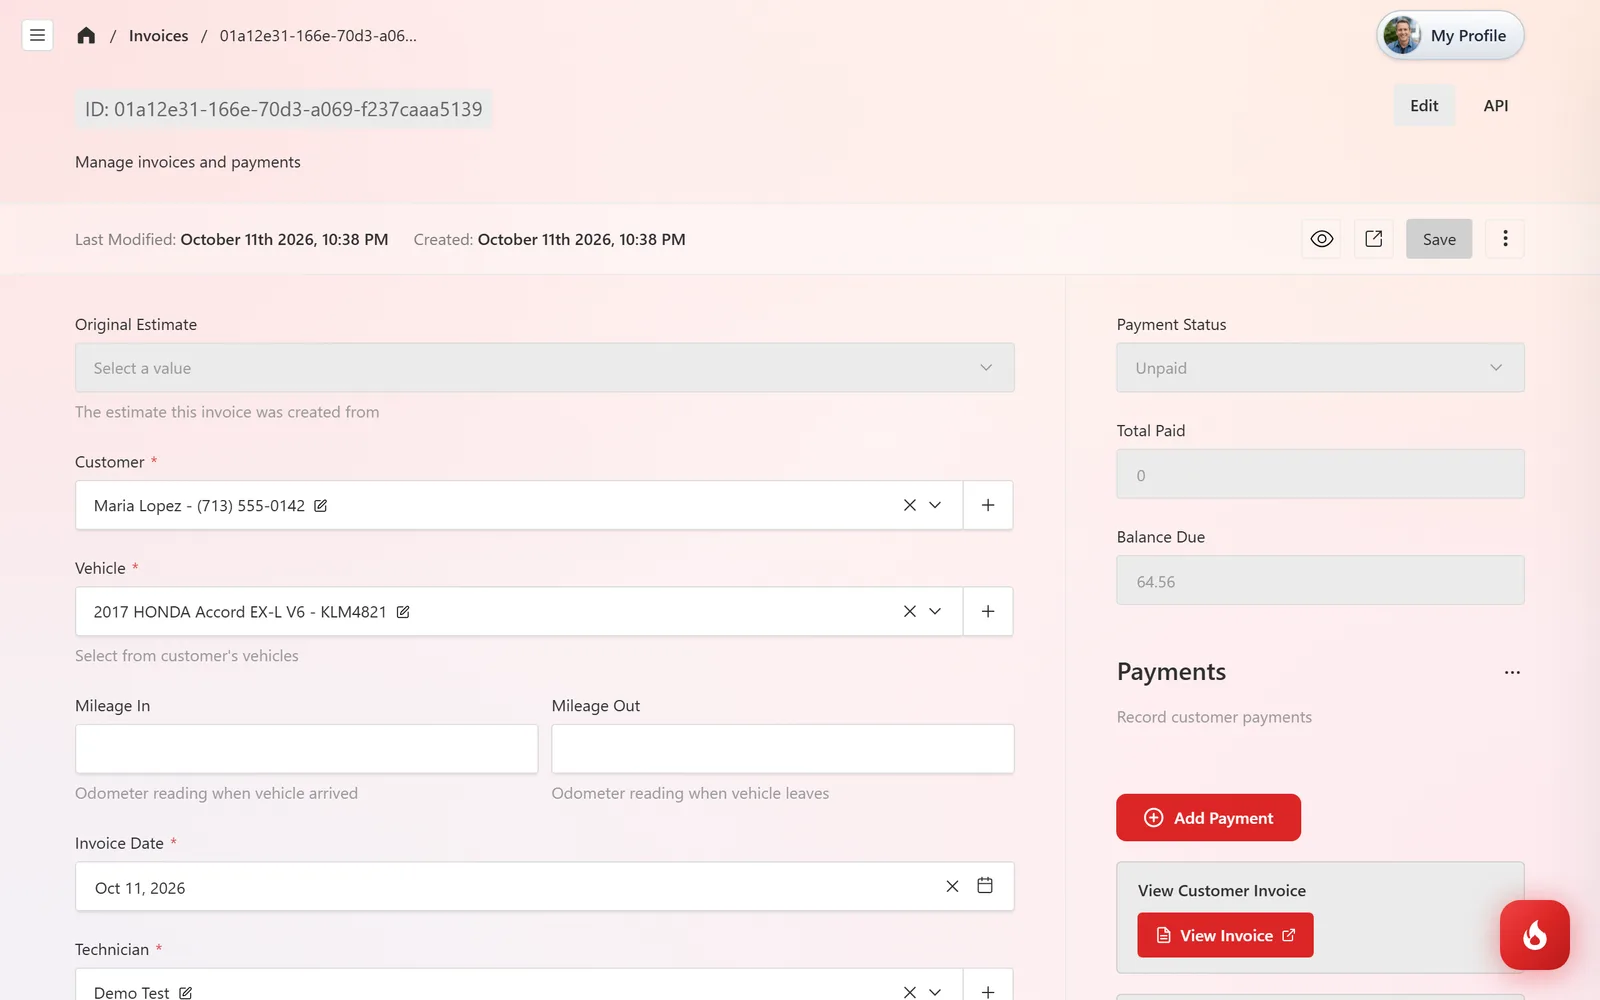
Pick the Customer, then the Vehicle. Enter Mileage In from the odometer, and Mileage Out when the car leaves. Invoice Date defaults to today.
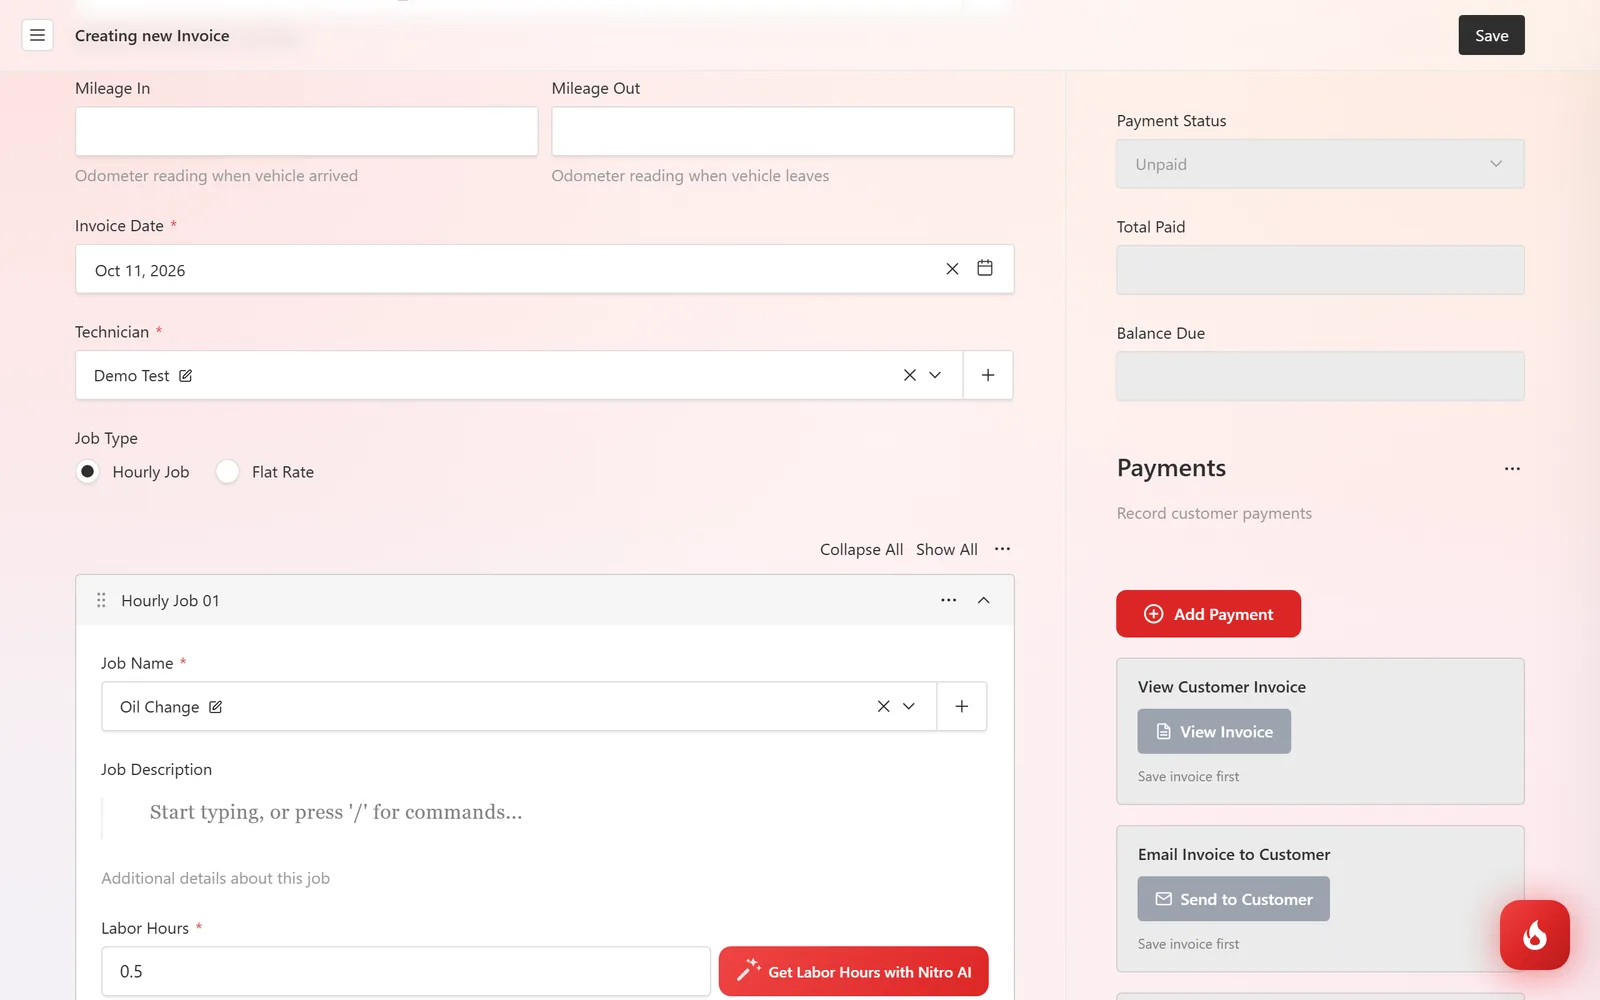
Choose the Technician, then click Add Hourly Job (or switch Job Type to Flat Rate). Pick the Job Name, enter Labor Hours, and add parts with Add Part, exactly like on an estimate.
Scroll to the Invoice Summary. The shop supply and environmental fees come from your settings, and Sales Tax can be adjusted per invoice. Above it you can attach a Multi-Point Inspection, add a Discount, or leave Notes.
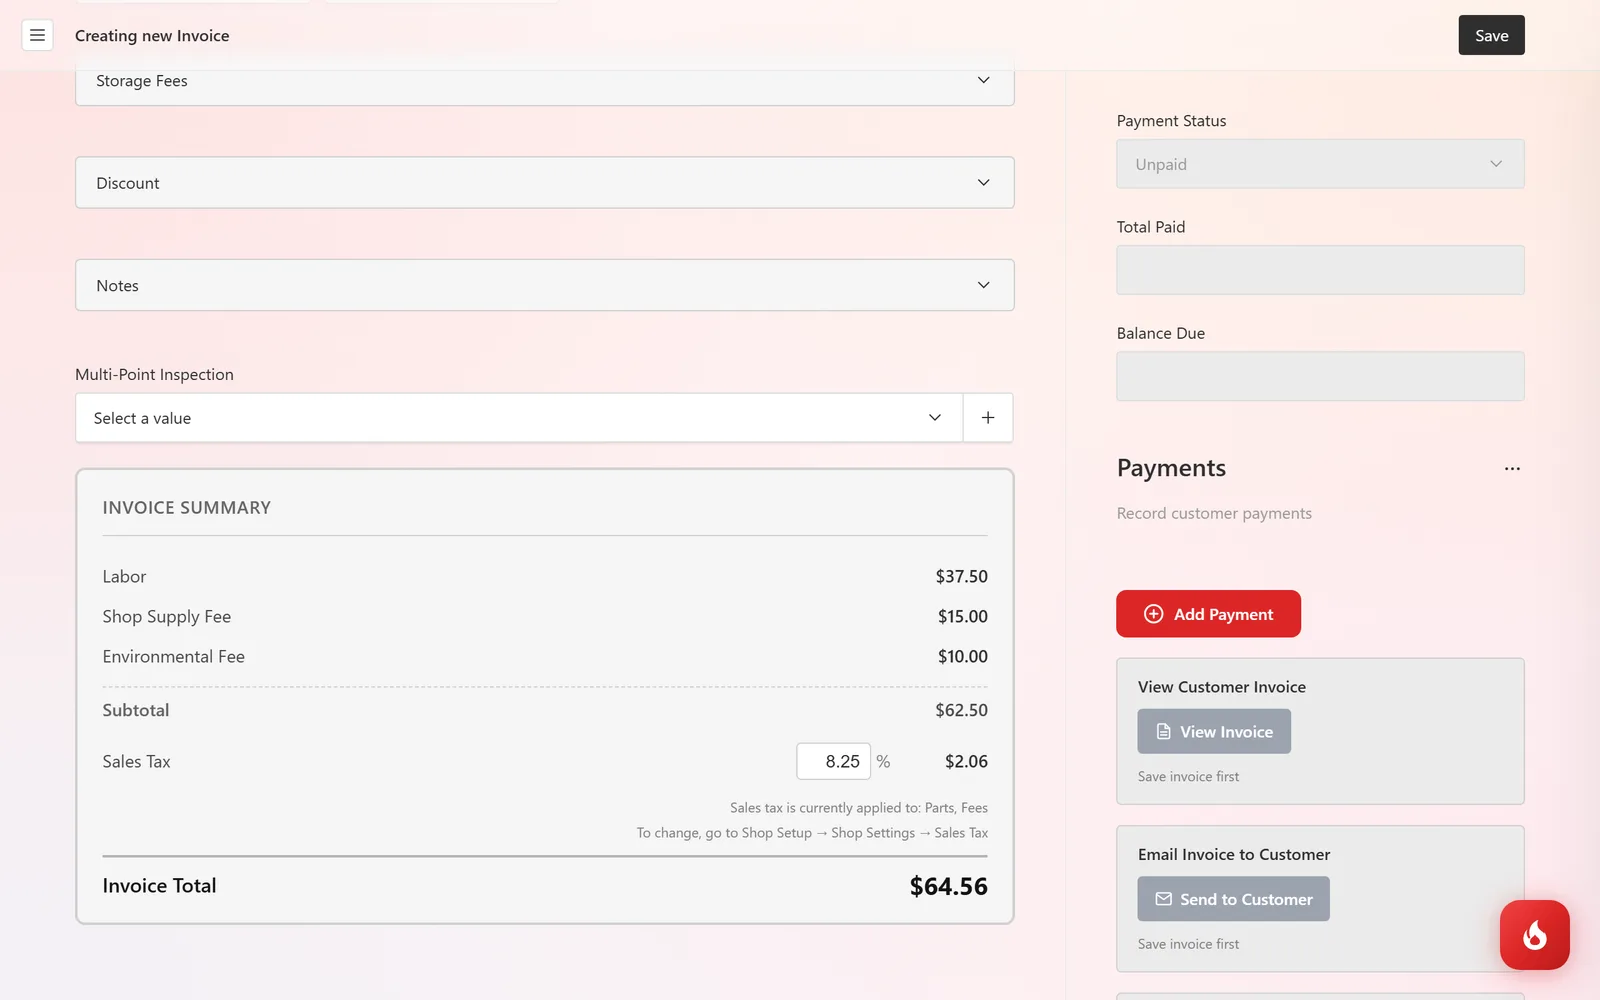
Click Save. The right column now shows Payment Status: Unpaid, the Balance Due, an Add Payment button, and the View Invoice, Send to Customer, and Text Customer buttons.
What is on an invoice that is not on an estimate
- Mileage In and Mileage Out, so the service history has the odometer reading.
- Storage Fees, for vehicles that sit on the lot, using the daily rate from your settings.
- A Multi-Point Inspection link, so the customer gets the inspection results with their bill.
- Payments, Total Paid, and Balance Due, which drive the Payment Status.
Frequently asked questions
Yes. Click Create New in Invoices and fill it in directly. The Original Estimate field just stays empty.
Yes. Edit any job, part, fee, or discount and click Save. The estimate itself stays as the customer signed it.
In Shop Setup → Shop Settings → Sales Tax, including whether tax applies to labor, parts, flat-rate jobs, and fees. You can override the rate on a single invoice in its summary.